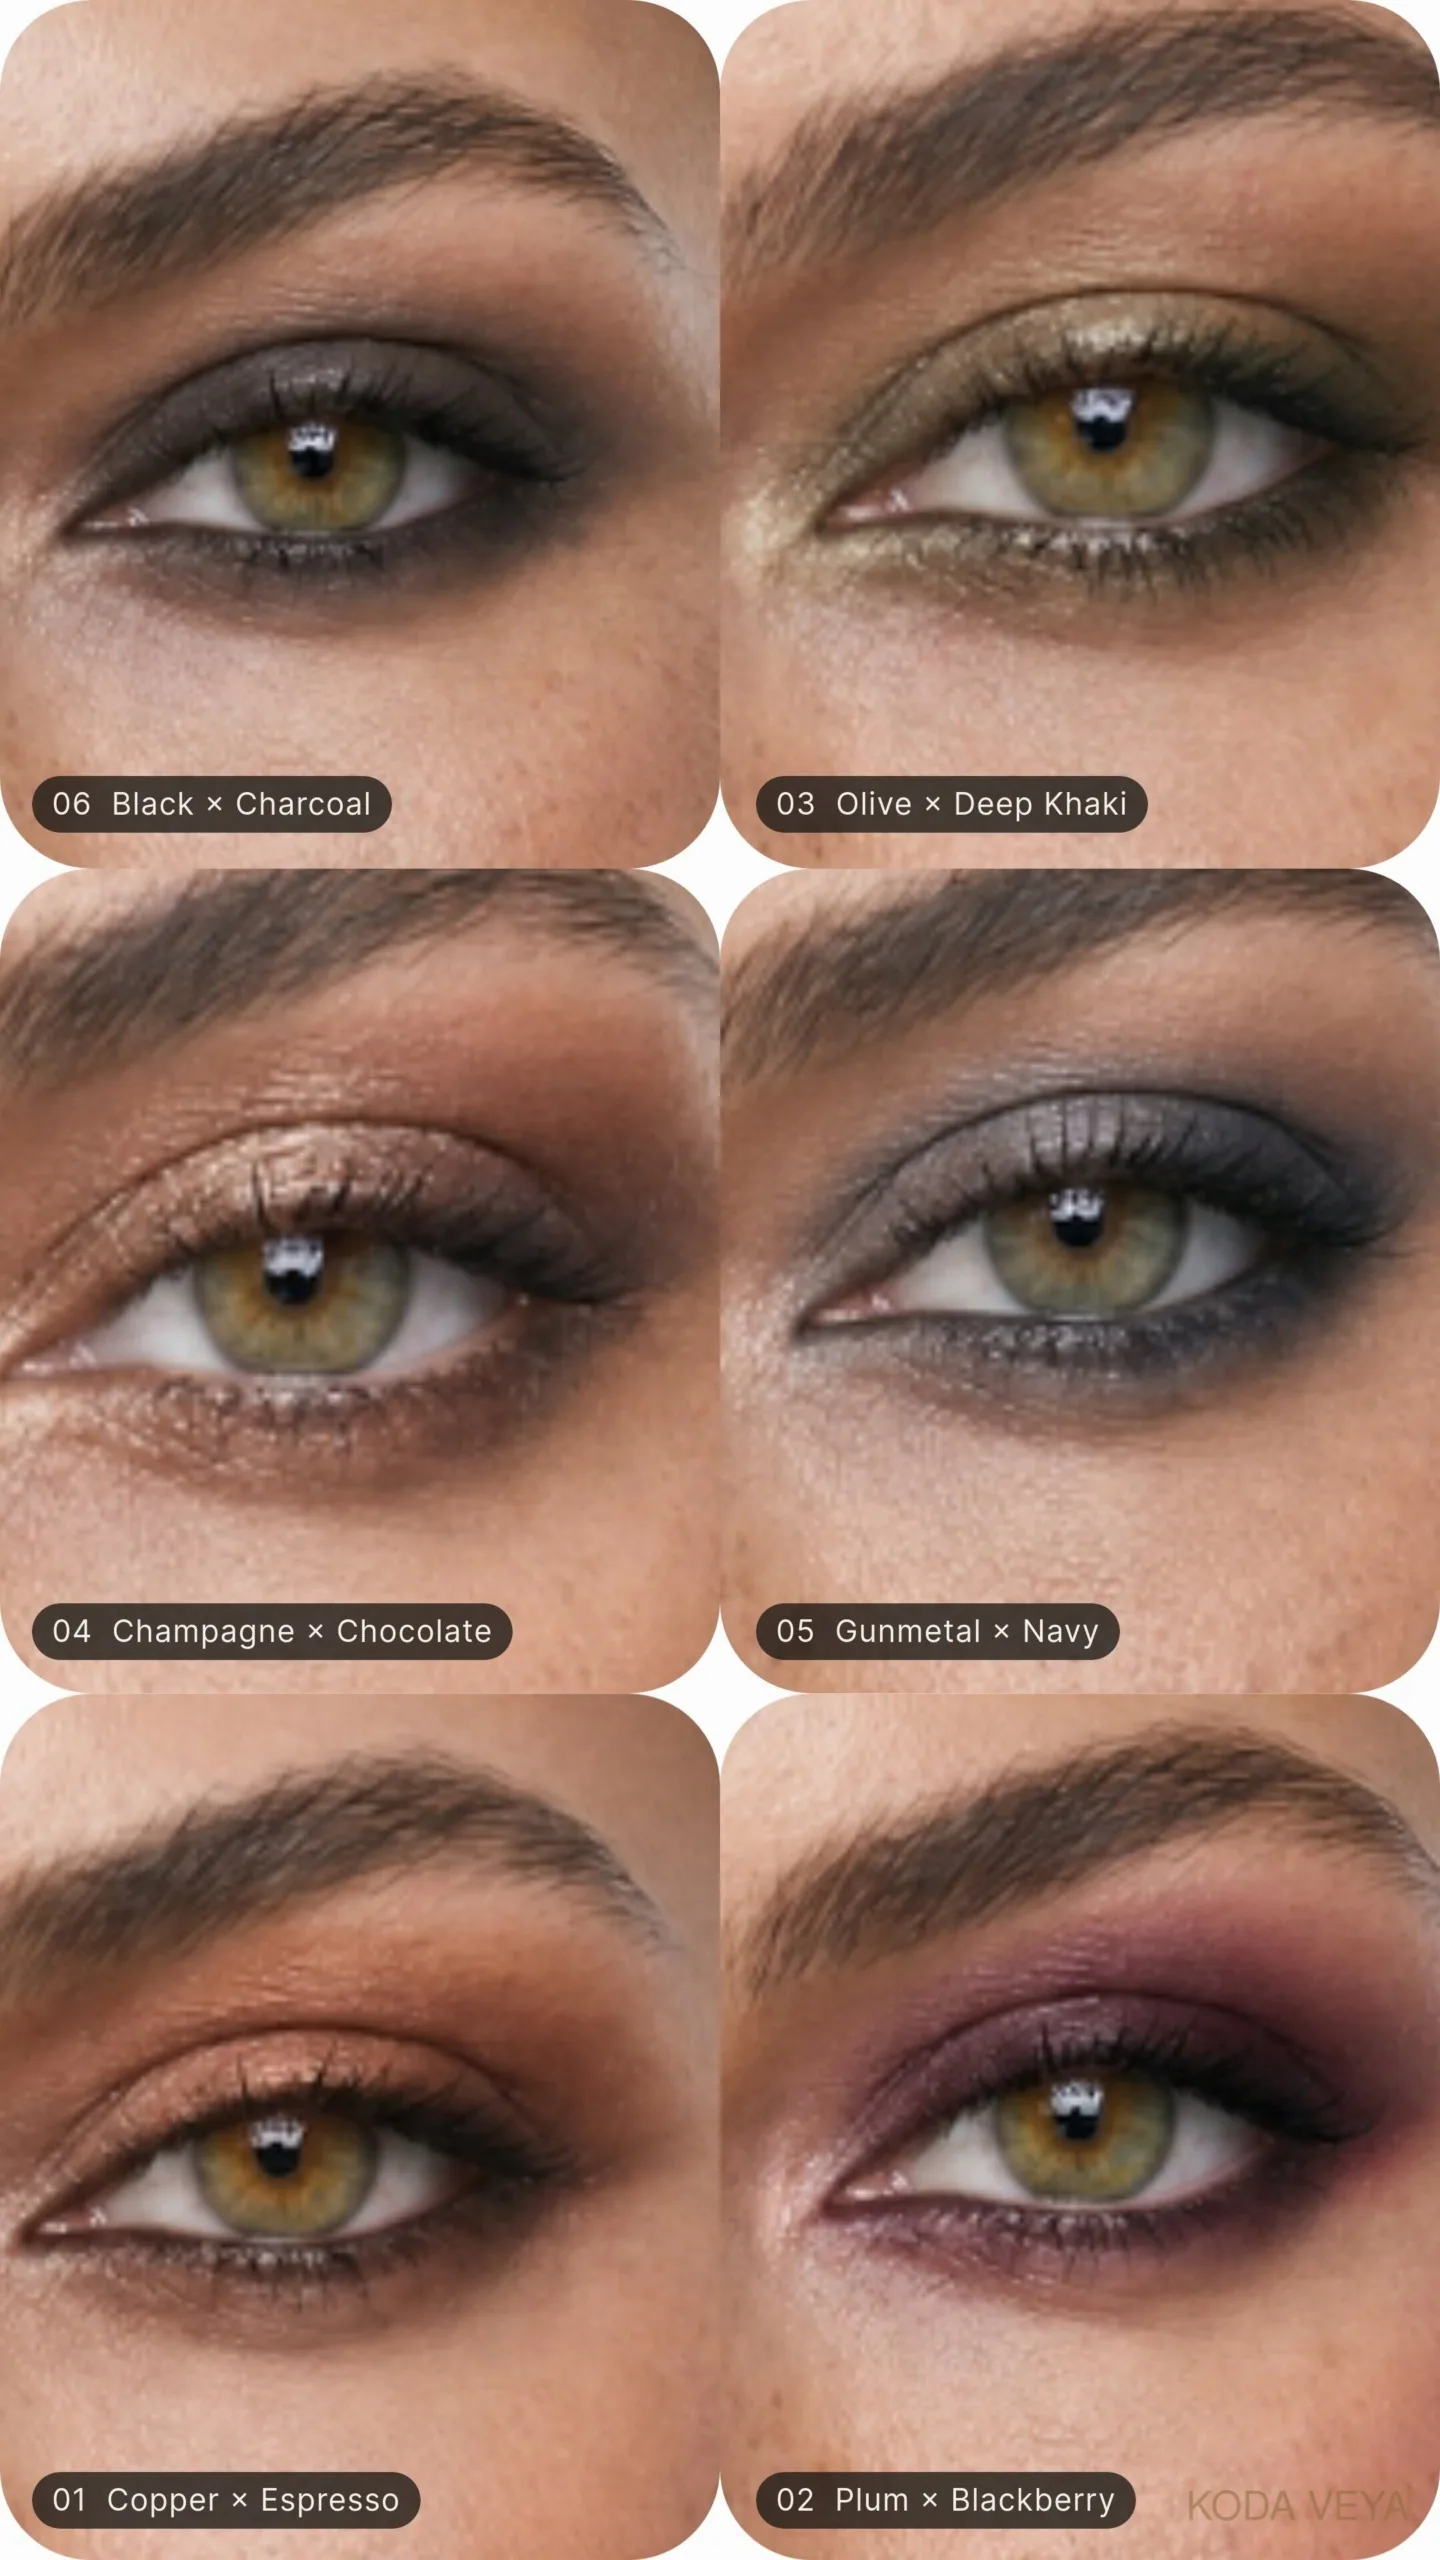
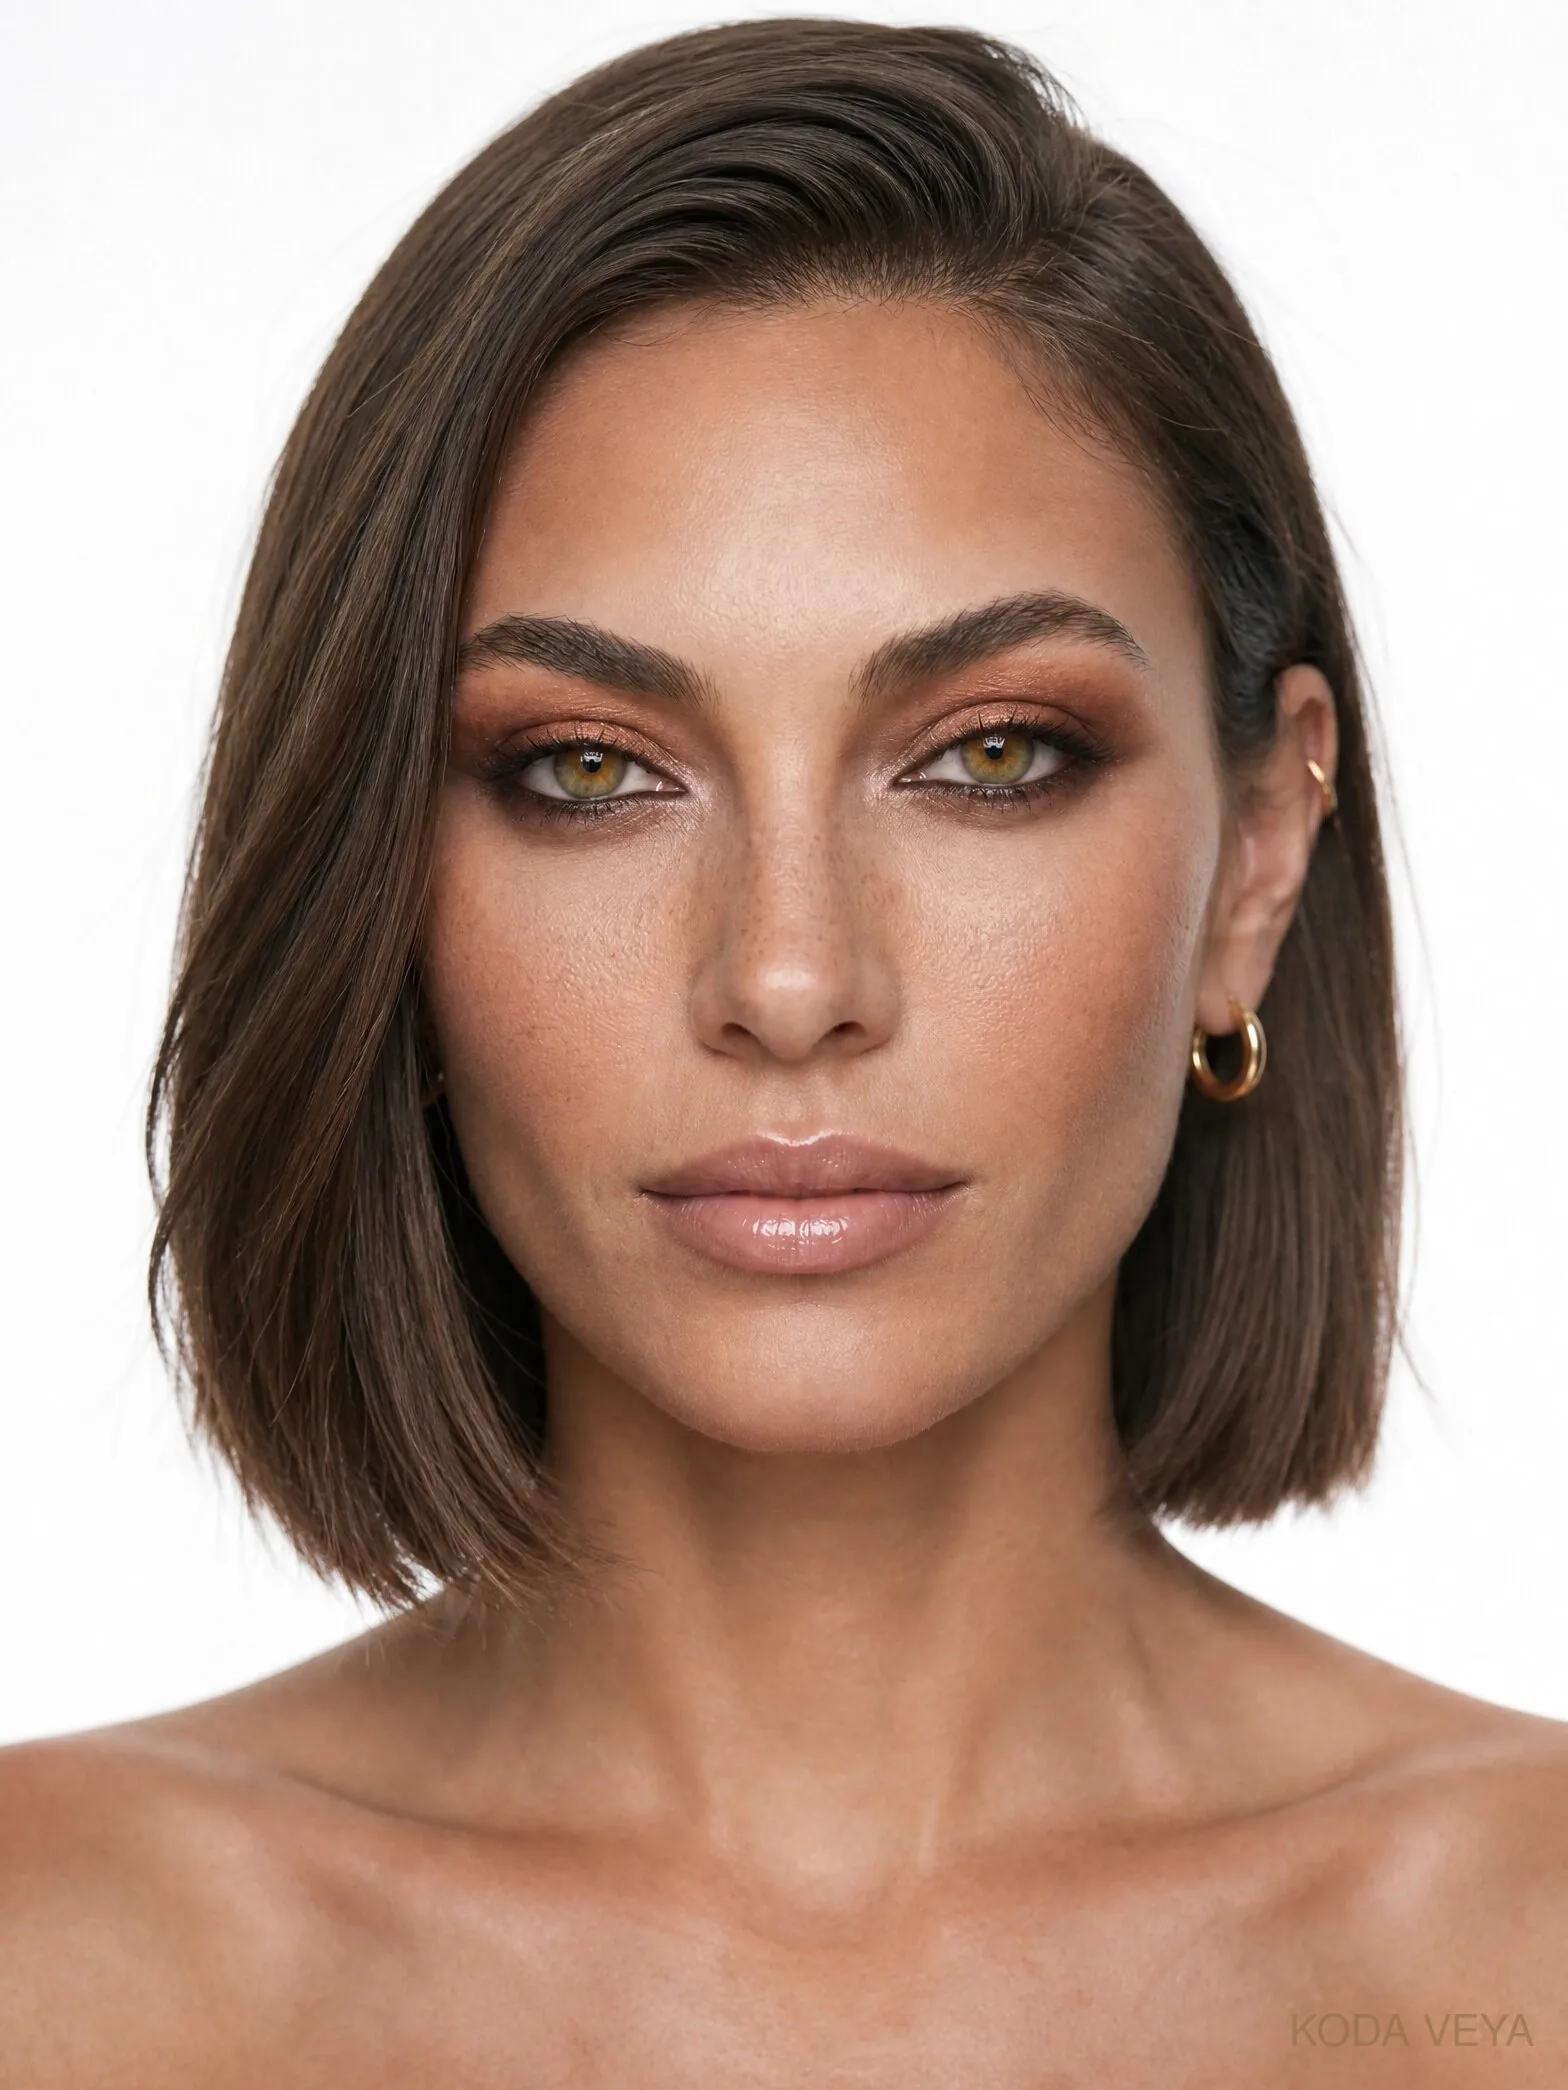
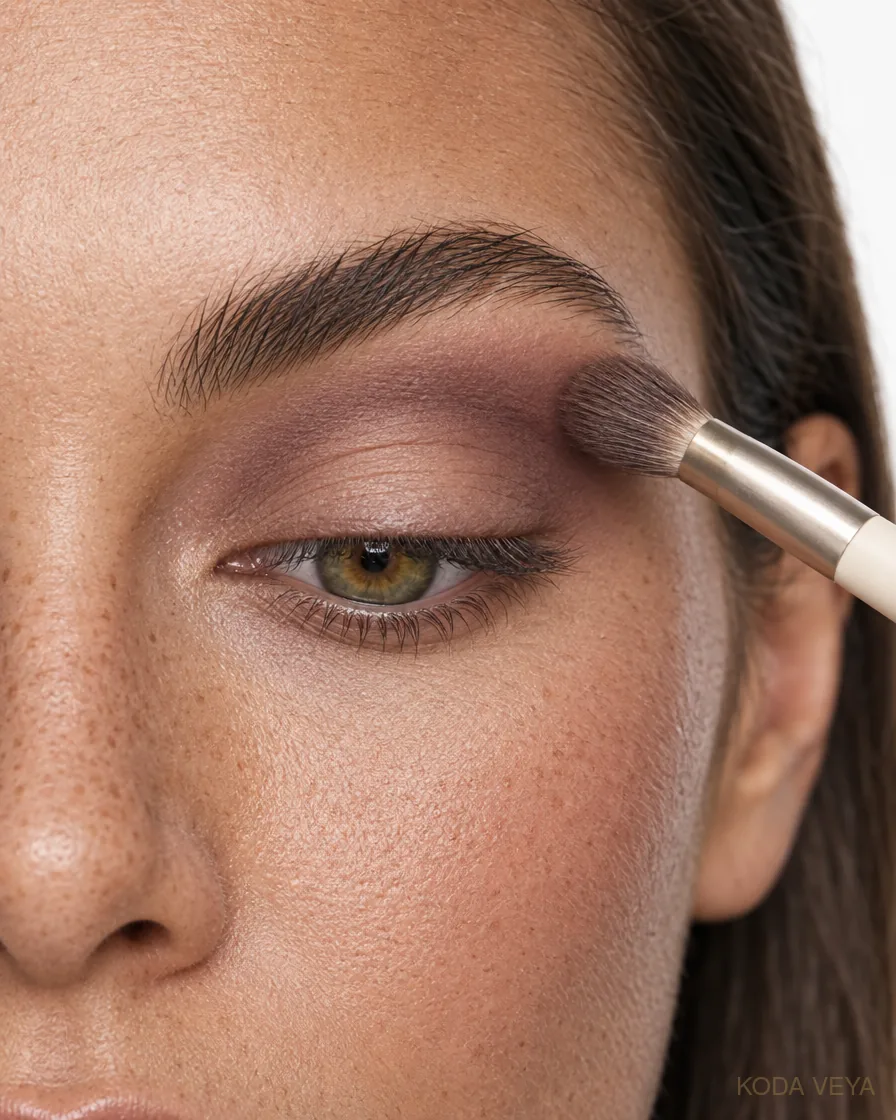
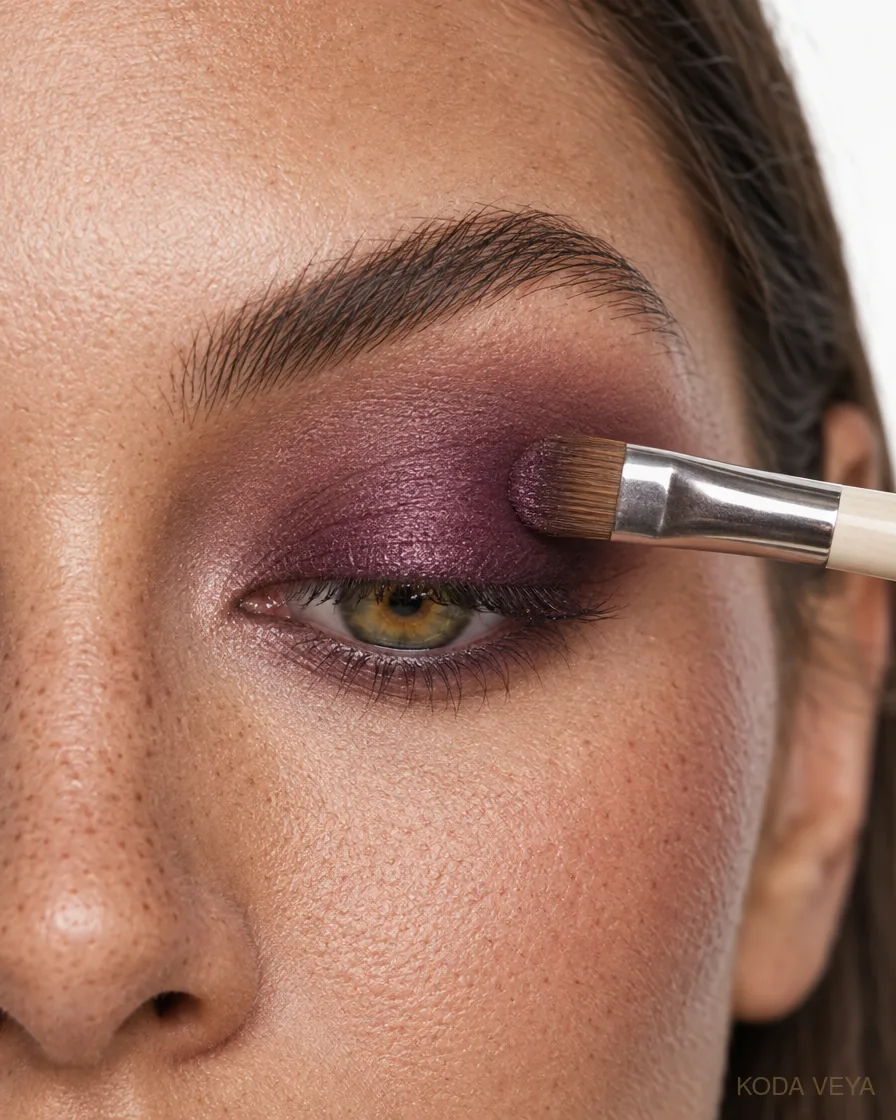
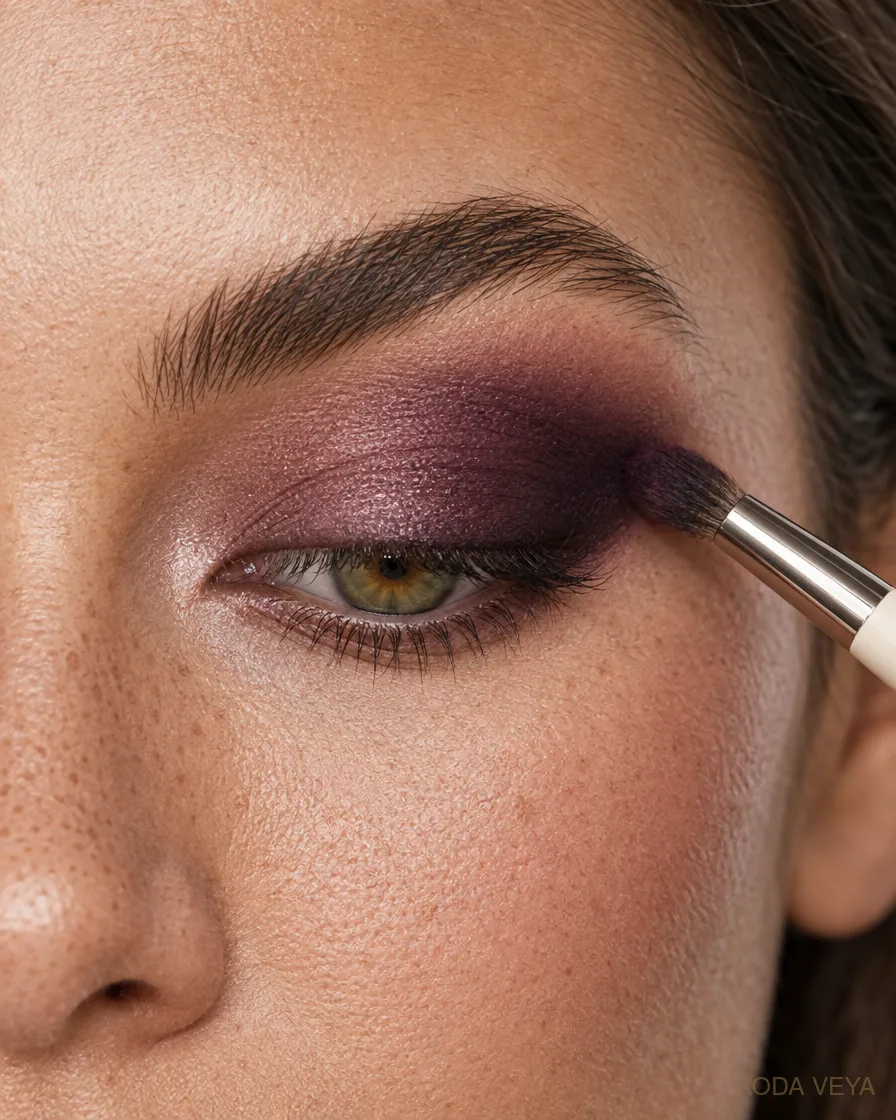
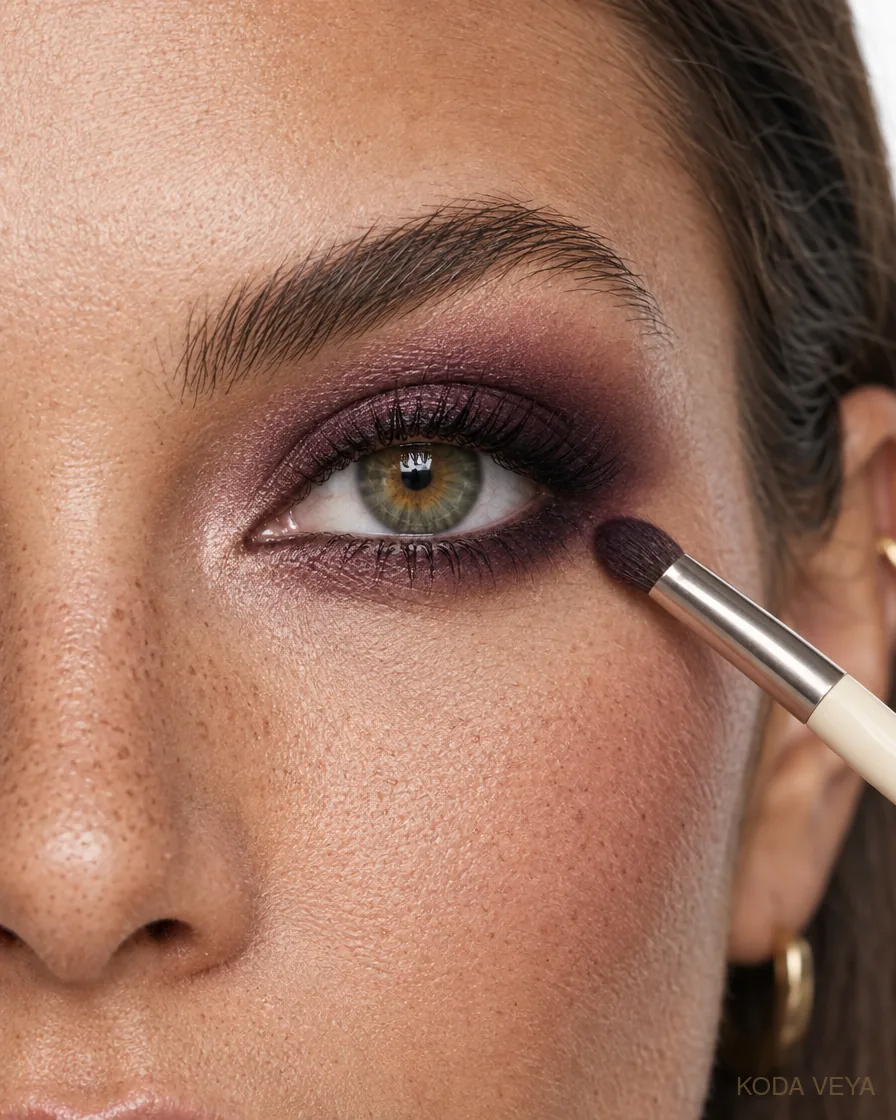
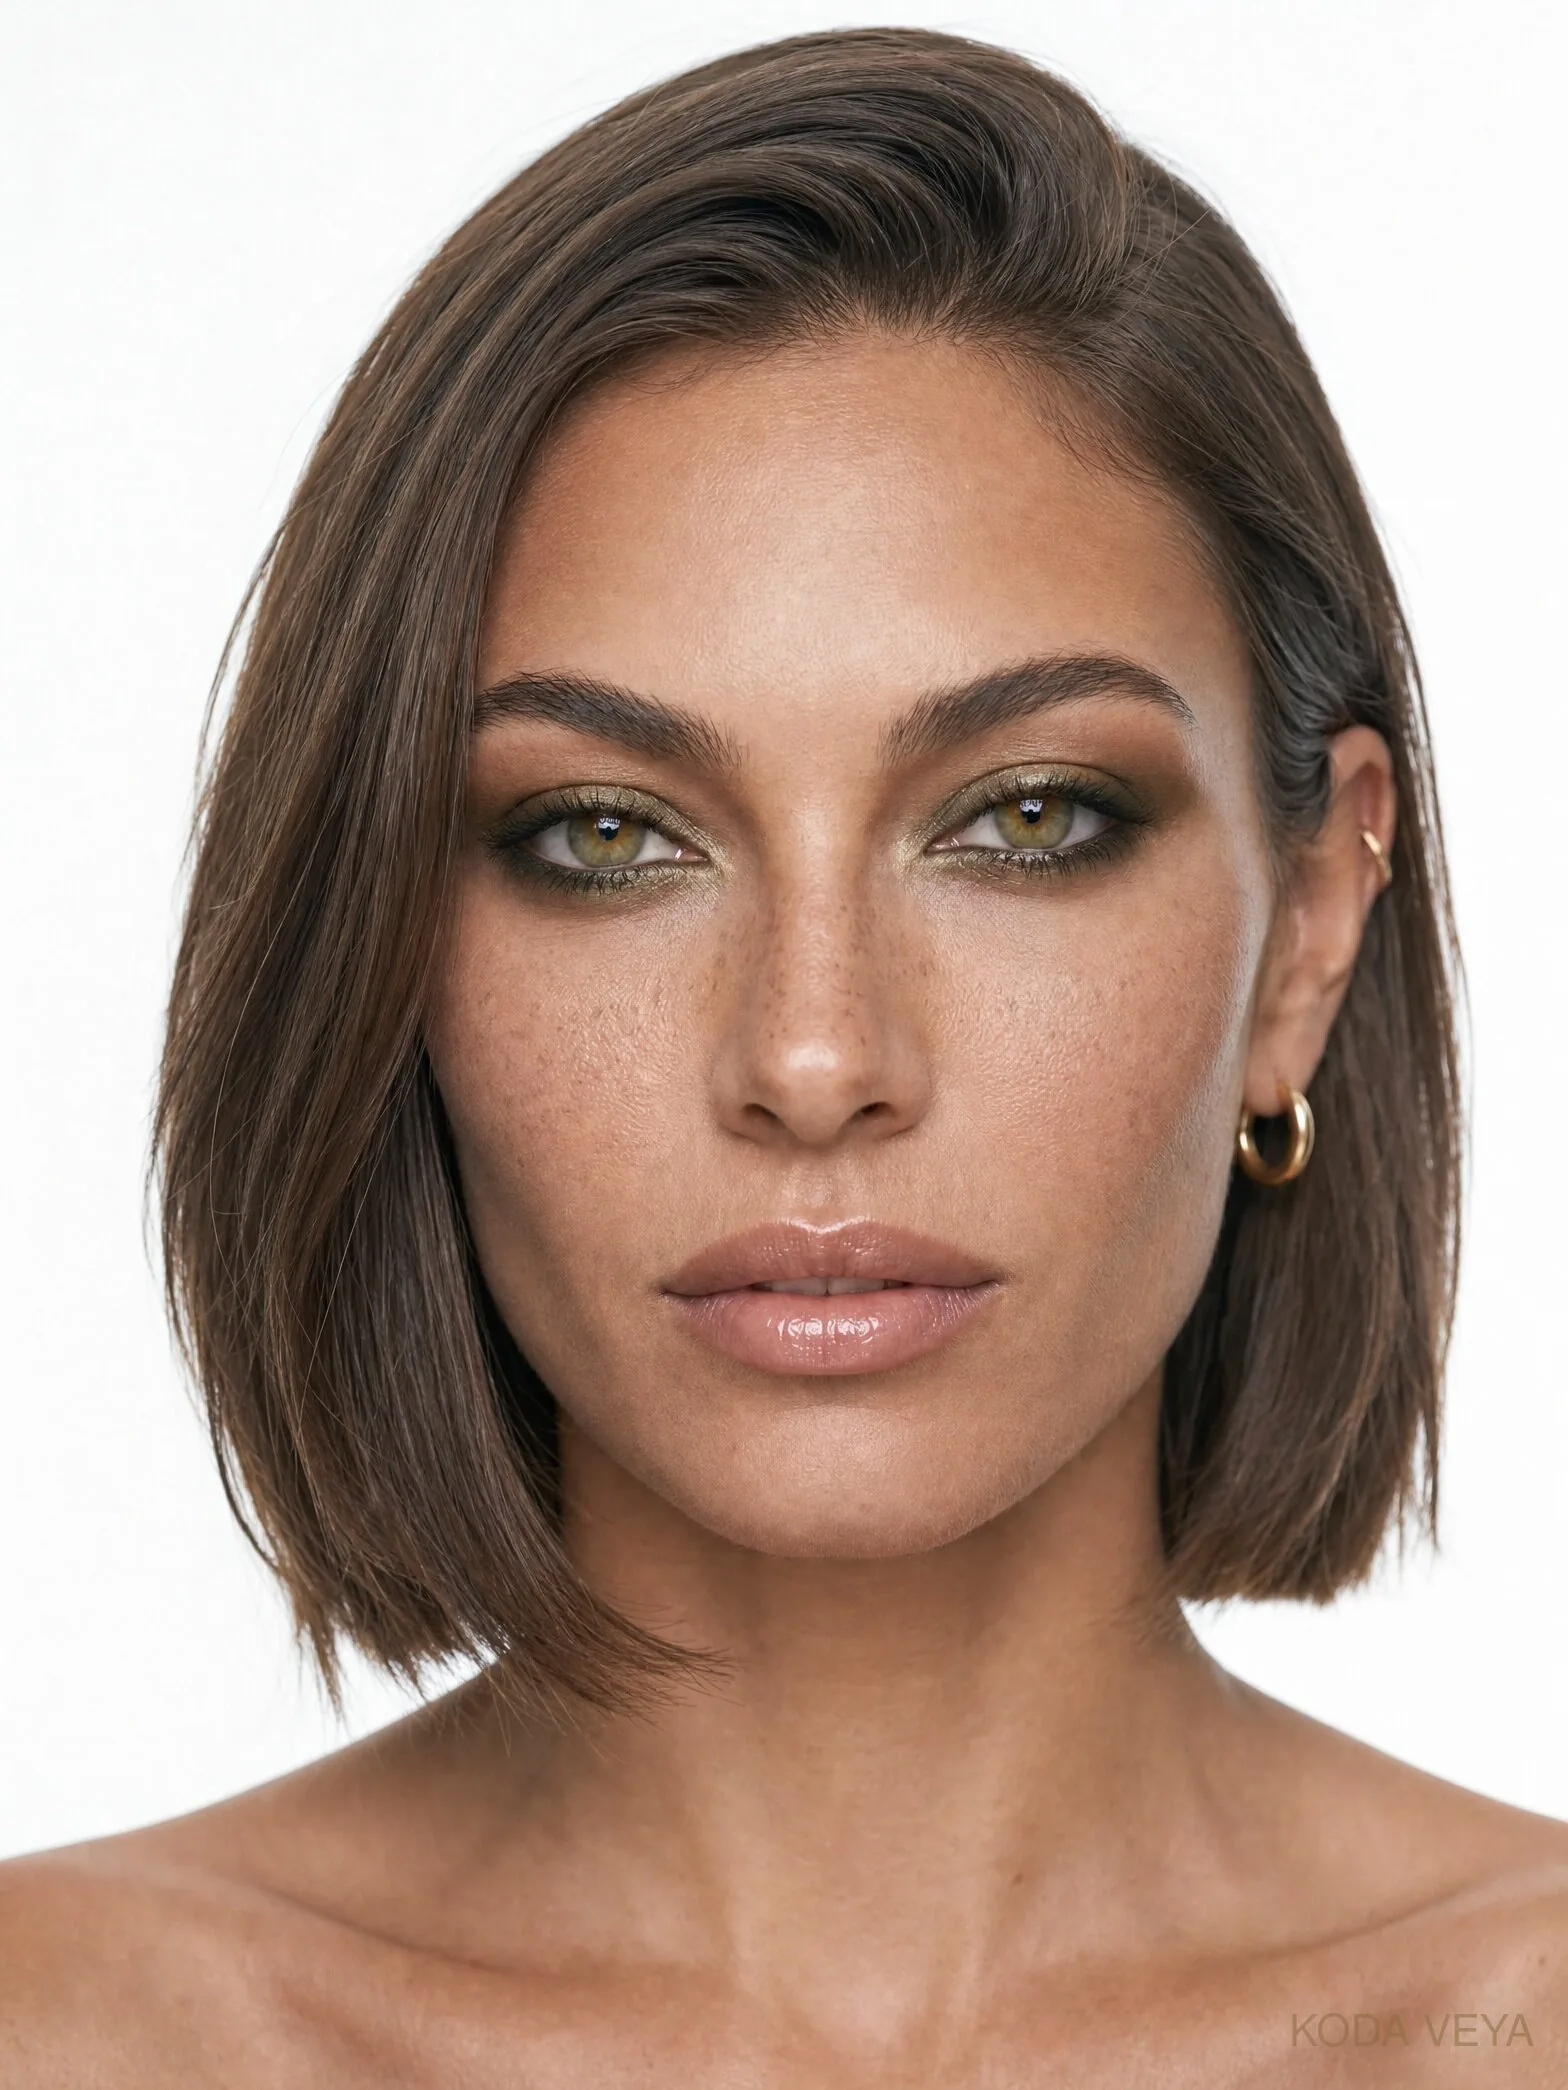
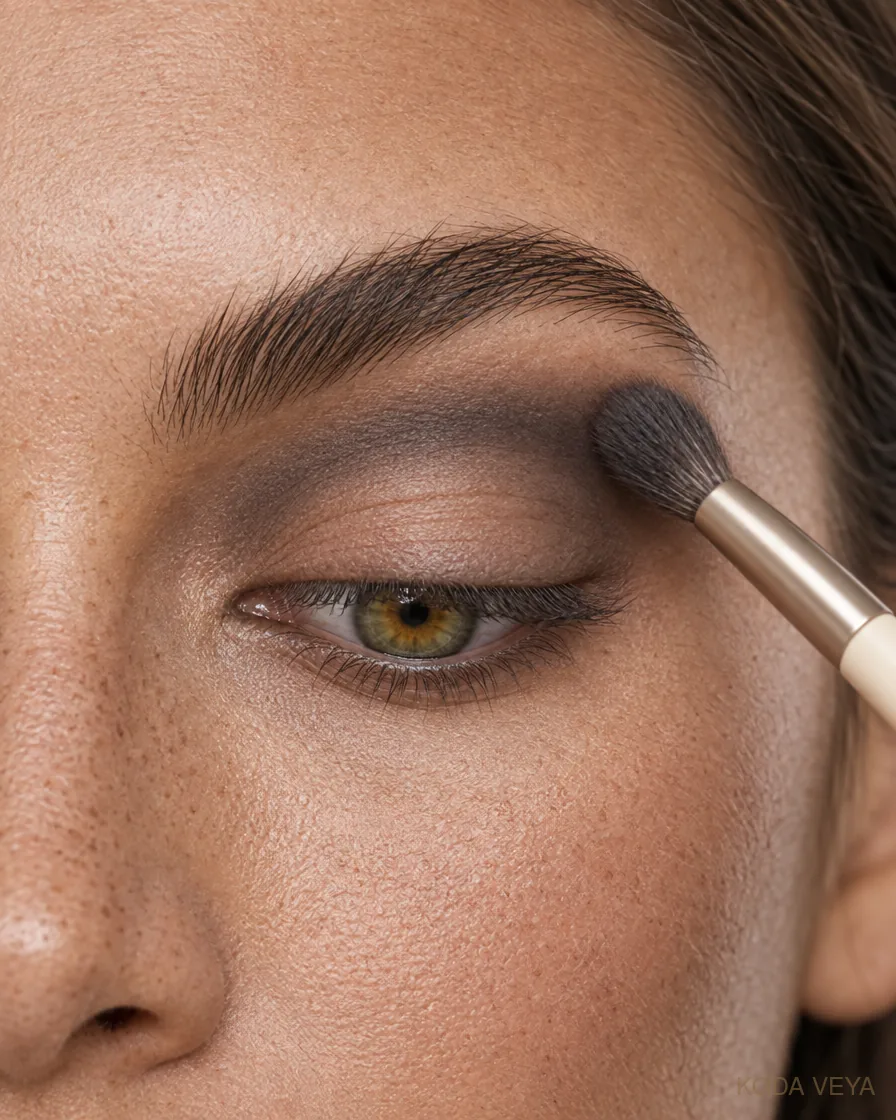
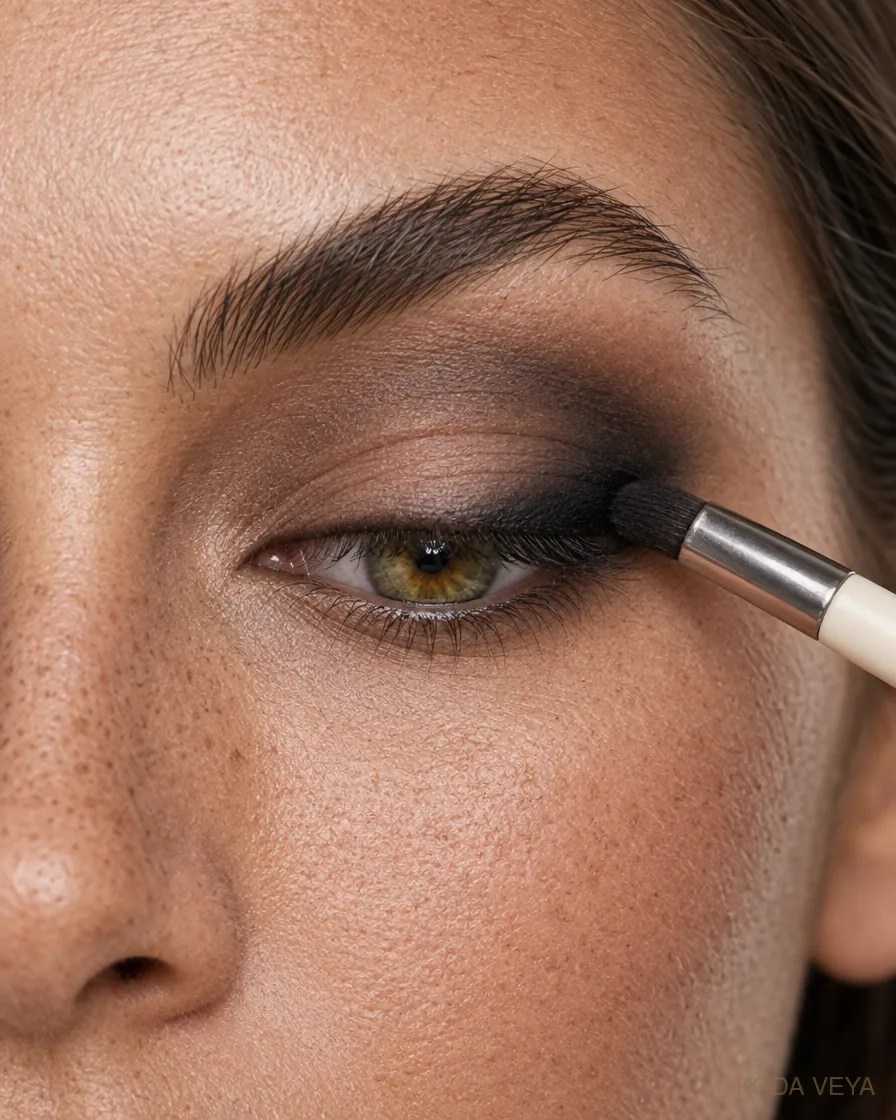
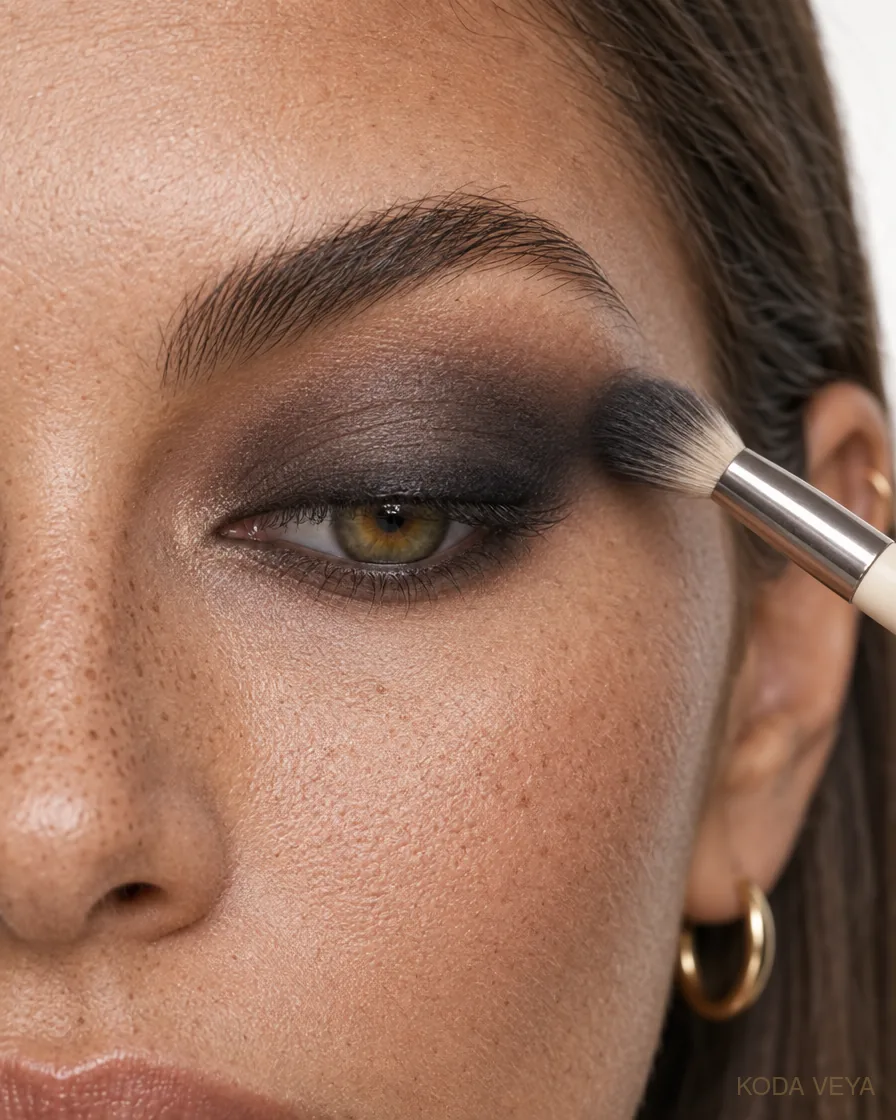
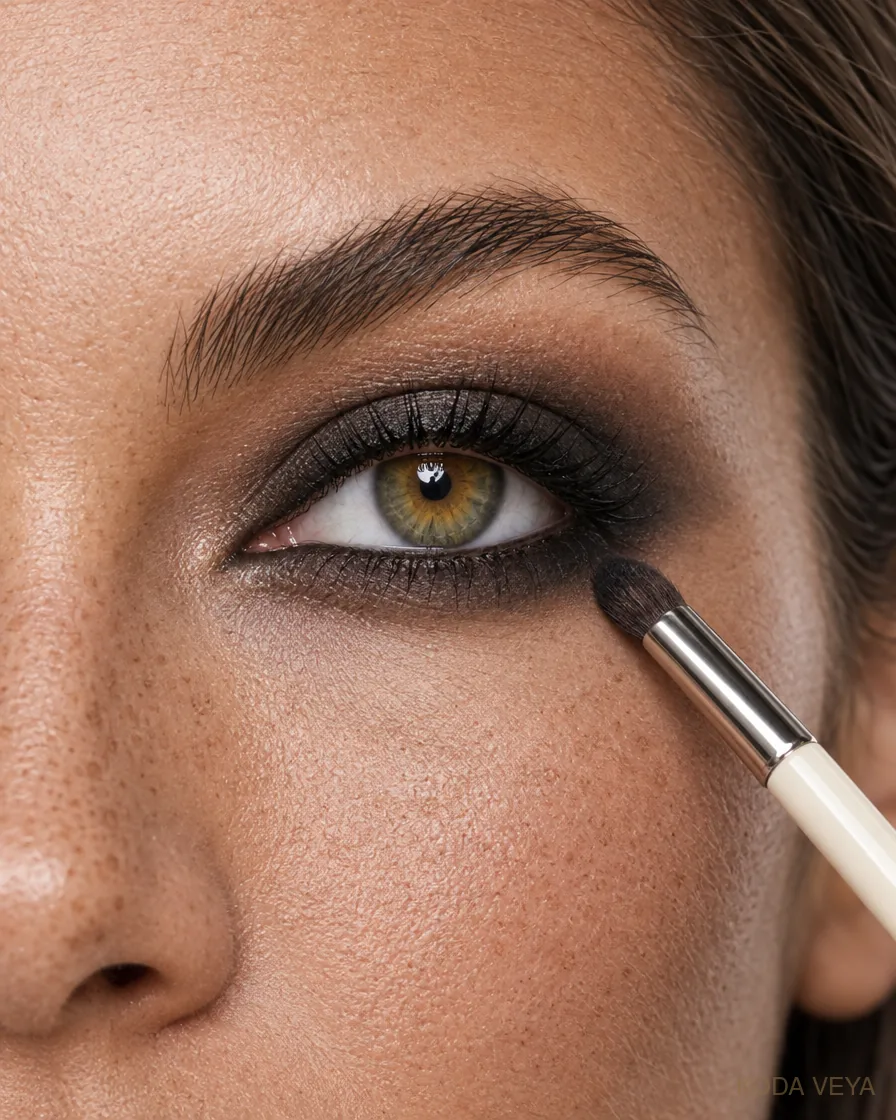
Six smoky eye makeup ideas, from copper and plum to olive, gunmetal and classic black, with simple techniques and shades to shop.
A note on links. Some links in this piece are affiliate links. If you buy through them, Koda Veya may earn a small commission at no extra cost to you. As an Amazon Associate, Koda Veya earns from qualifying purchases. How Koda chooses →
The smoky eye has a bit of a branding problem, and most smoky eye makeup ideas don’t do much to fix it.
Say “smoky eye” and most people still picture black shadow, a great deal of blending and the vague possibility that somebody will ask whether you slept in your makeup.
It can be that. But some of the best smoky eye makeup ideas are copper, plum, olive, champagne or navy.
What makes it smoke is how the colour moves around the eye: deeper at the lash line and outer corner, softer at the edges, with enough contrast to give the eye shape and no visible border where the makeup stops.
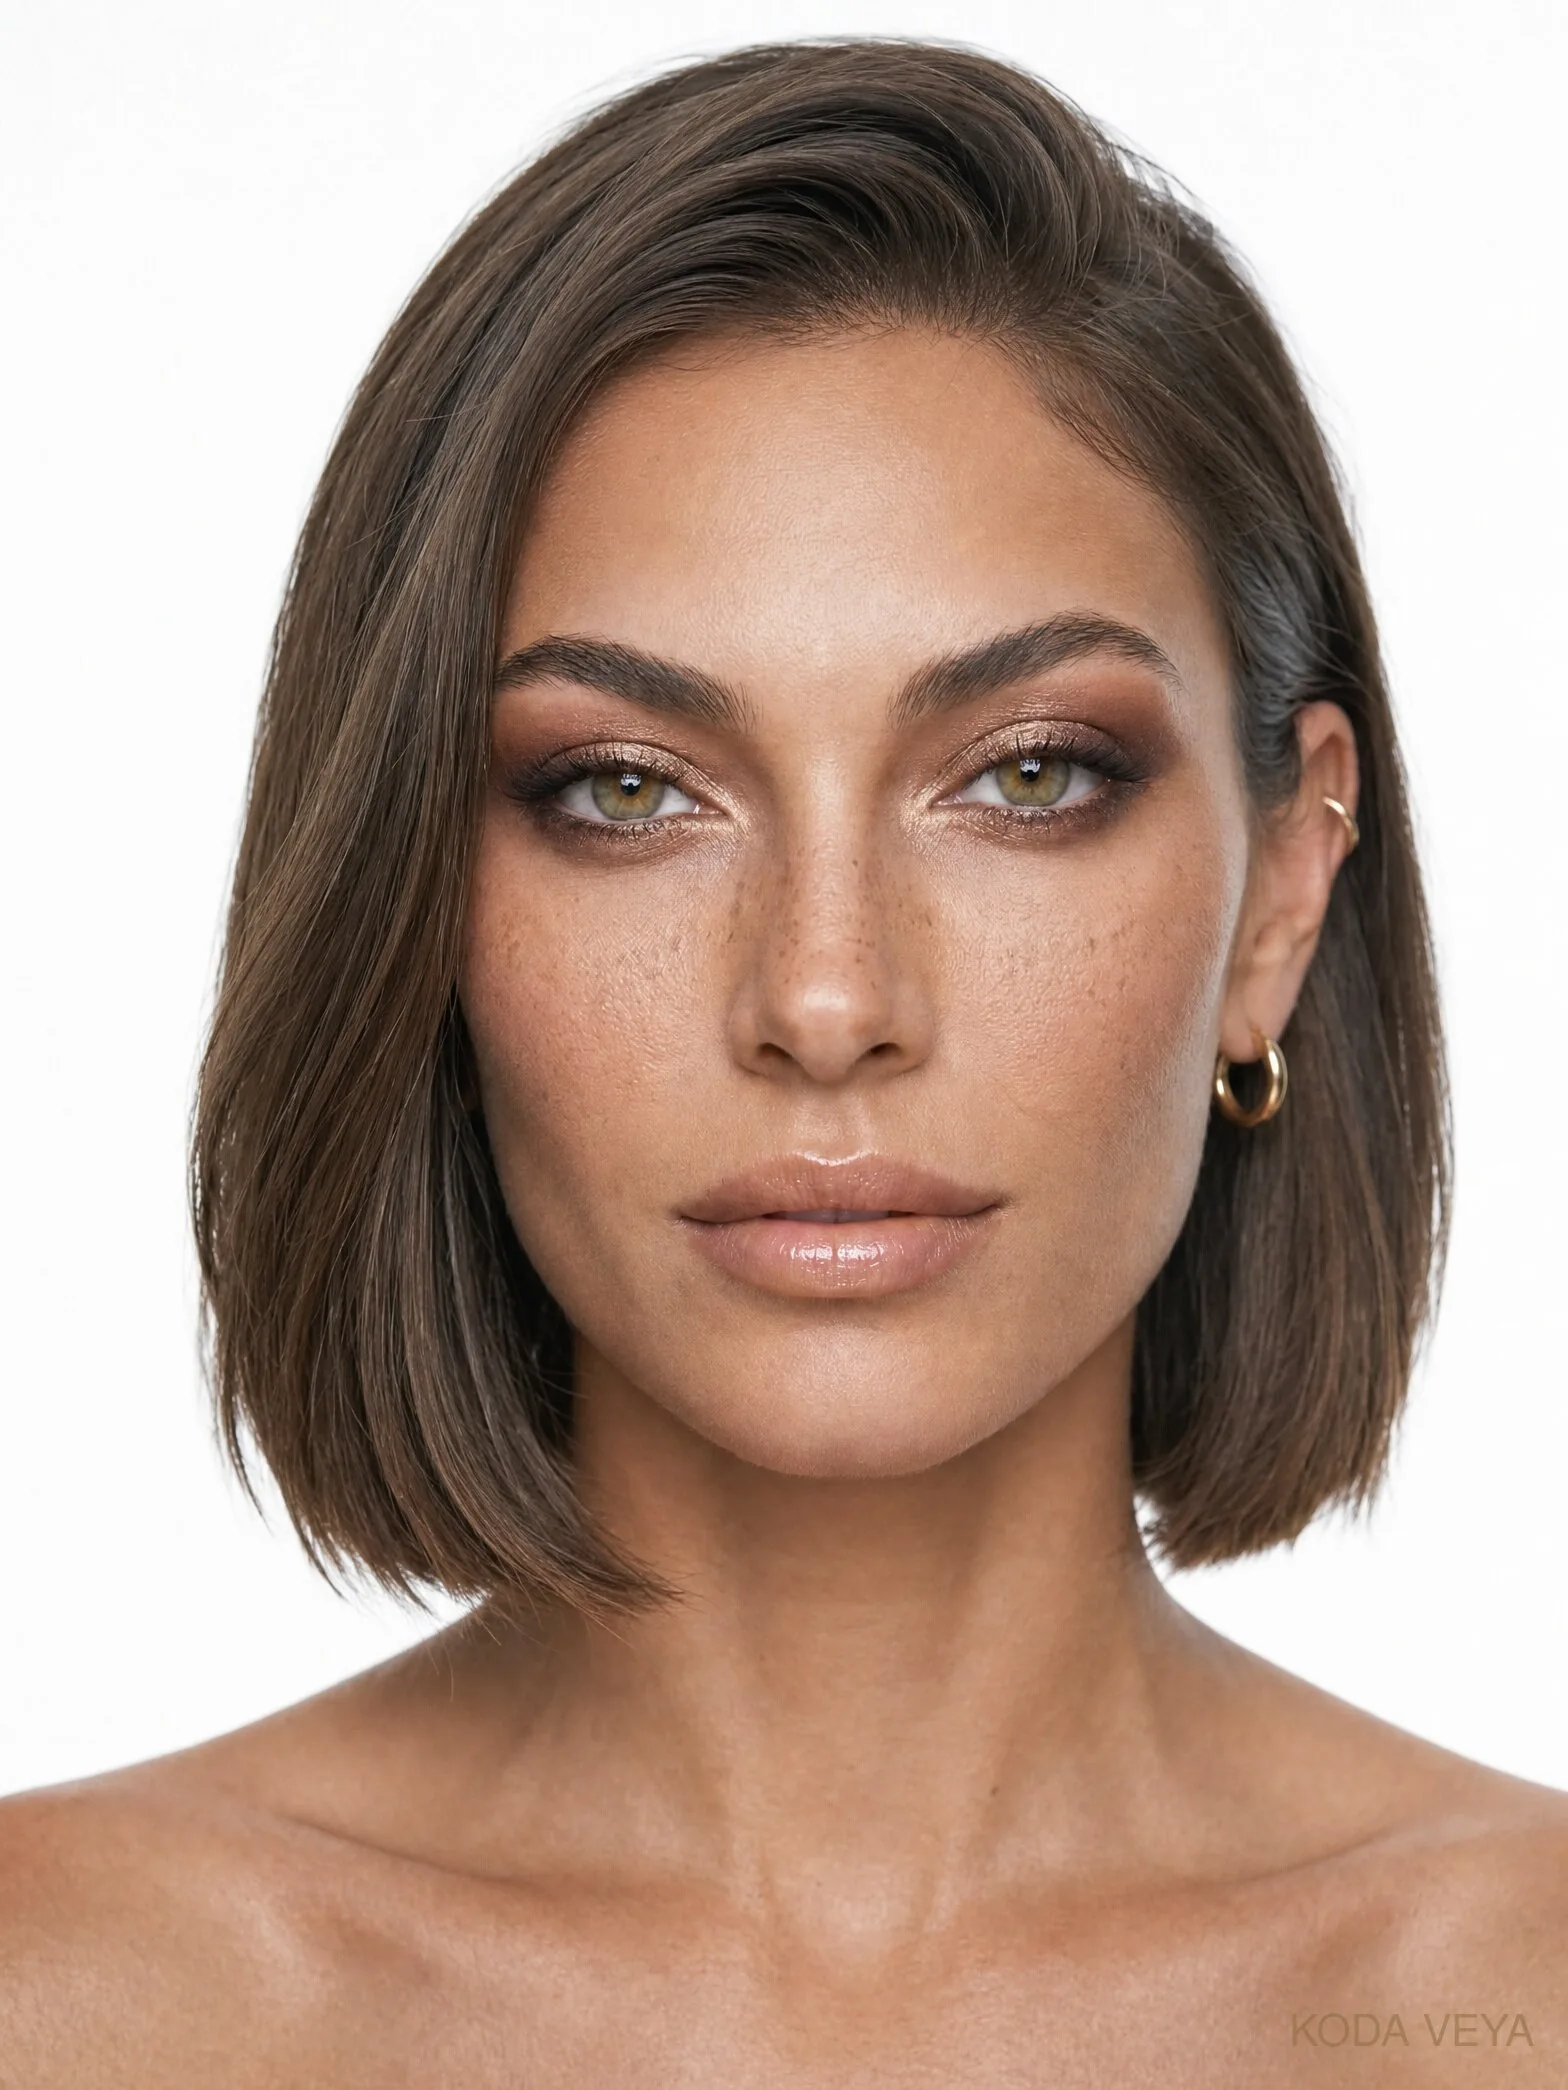
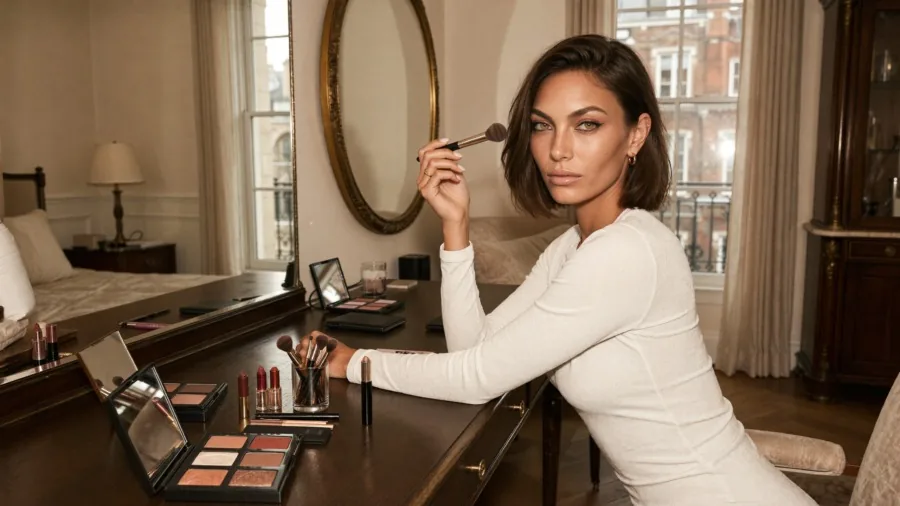
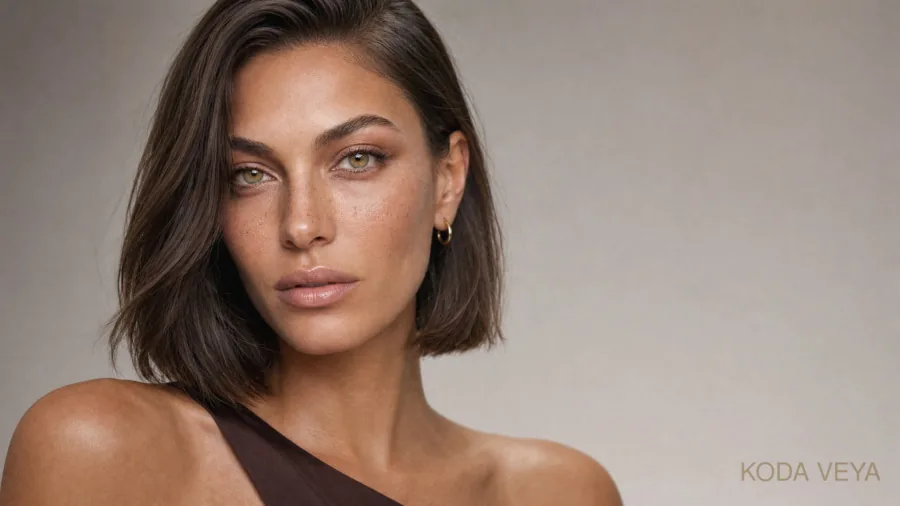
These are six smoky eye makeup ideas on the same face, deliberately different from one another. Some catch the light, some deepen the eye, and one is unapologetically black. None of them needs a completely different makeup bag.
What You Actually Need for a Smoky Eye
Less than most tutorials suggest.
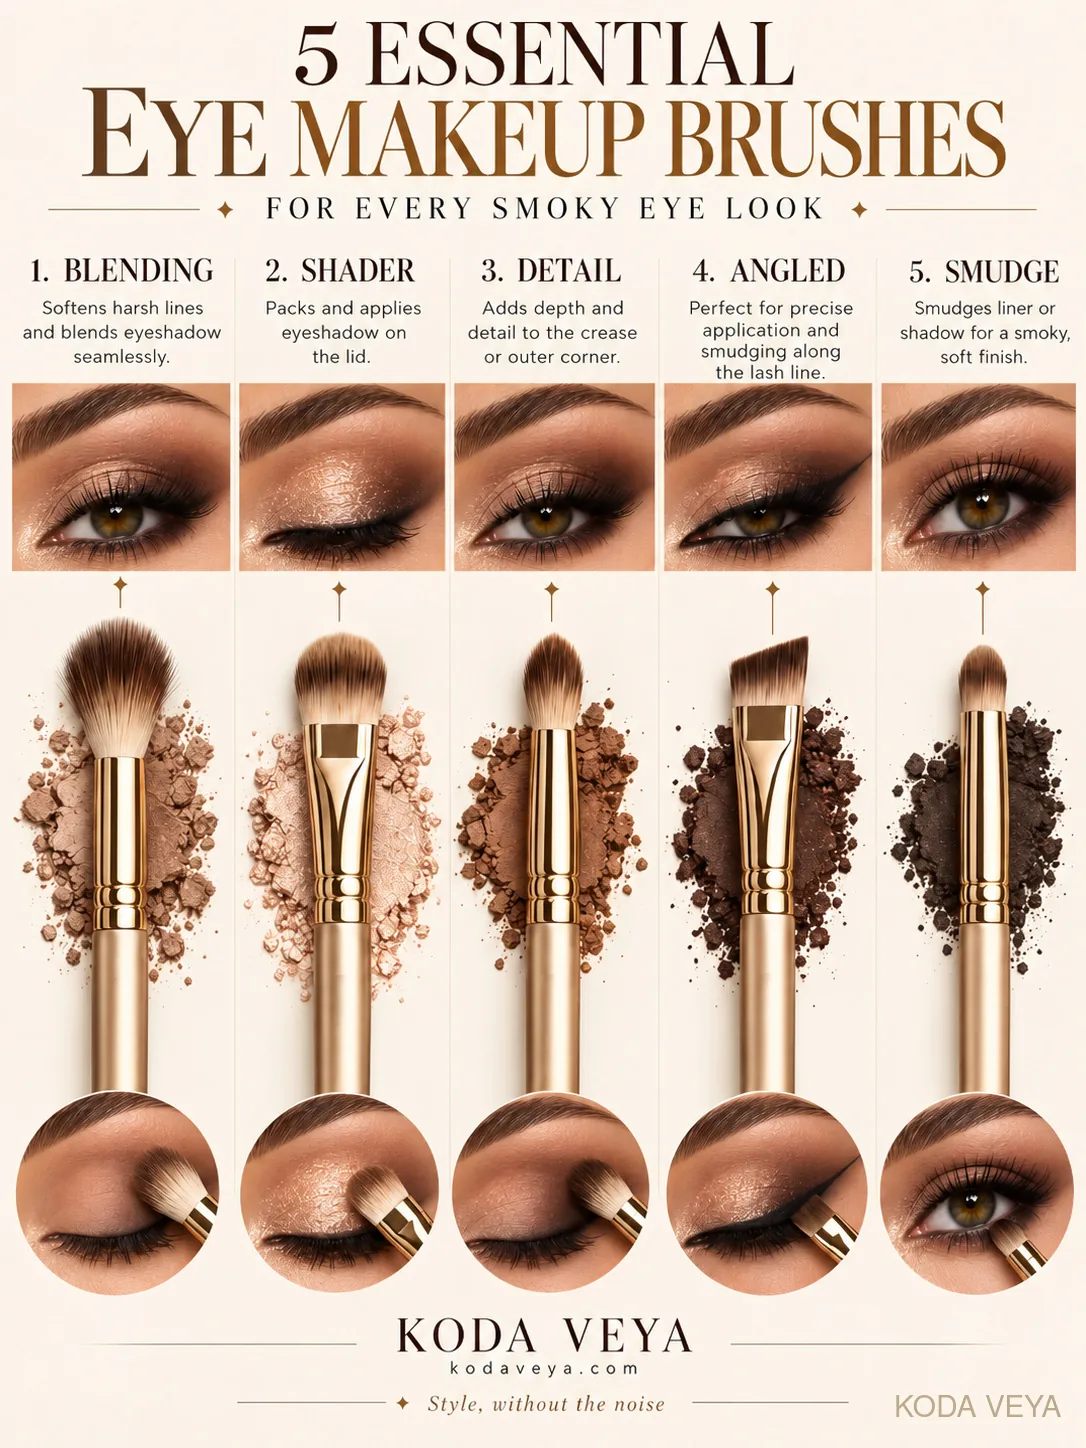
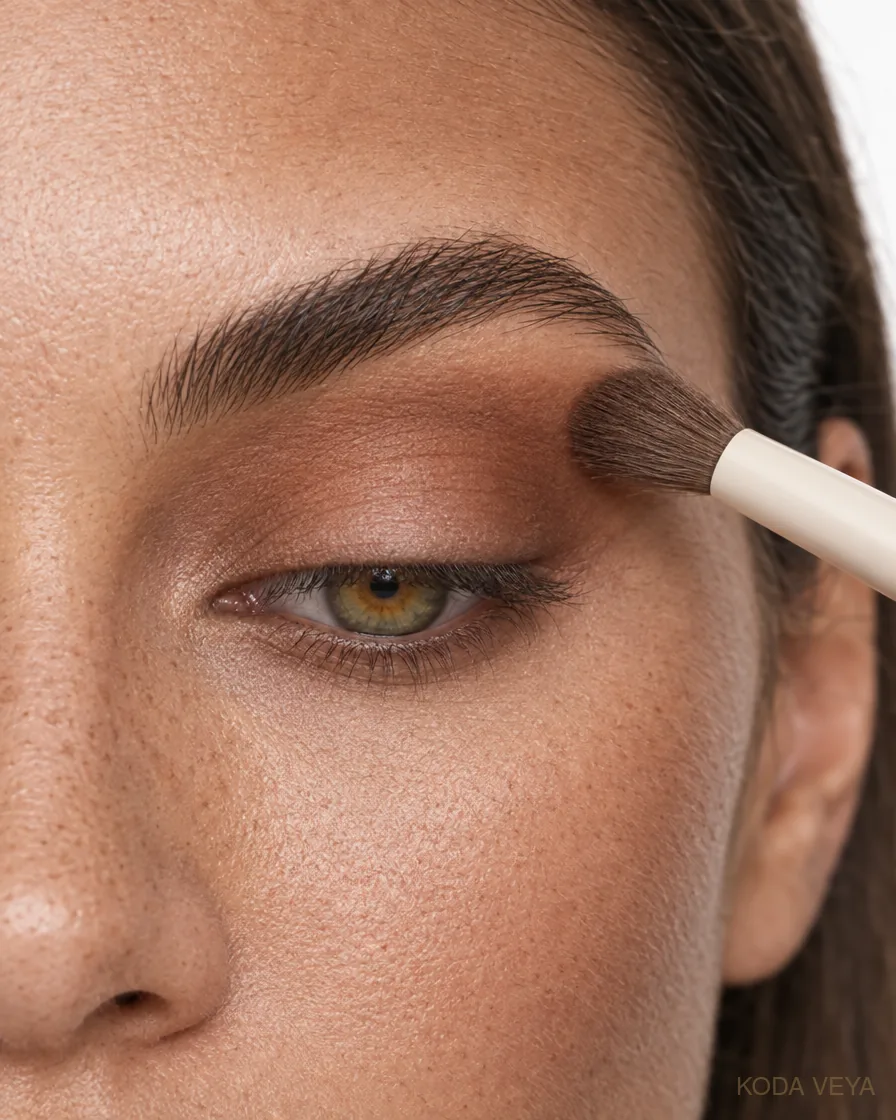
A useful smoky-eye kit is a good matte shade for structure, something with a little light or colour for the lid, a pencil or liner you can work close to the lashes, mascara, and a brush that actually blends rather than simply moving the shadow somewhere else.
I’d shop by colour and finish rather than chasing an exact product list. One palette of metallics, one of mattes and a liner in the right shade will cover almost everything below.
The images are visual direction, not product photography. Where I’ve written Shop similar, I mean a comparable shade or formula that can recreate the effect, not the exact makeup in the picture.
01 — Copper × Espresso
Warm + Burnished
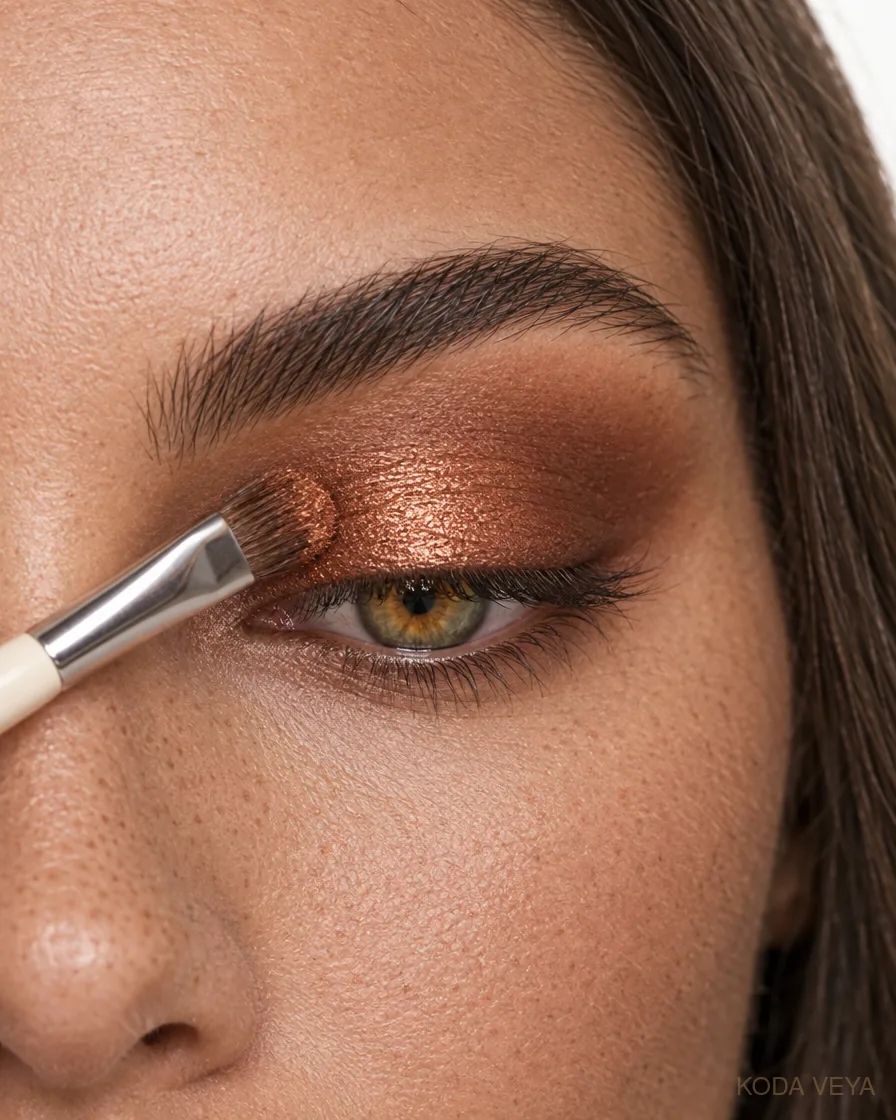
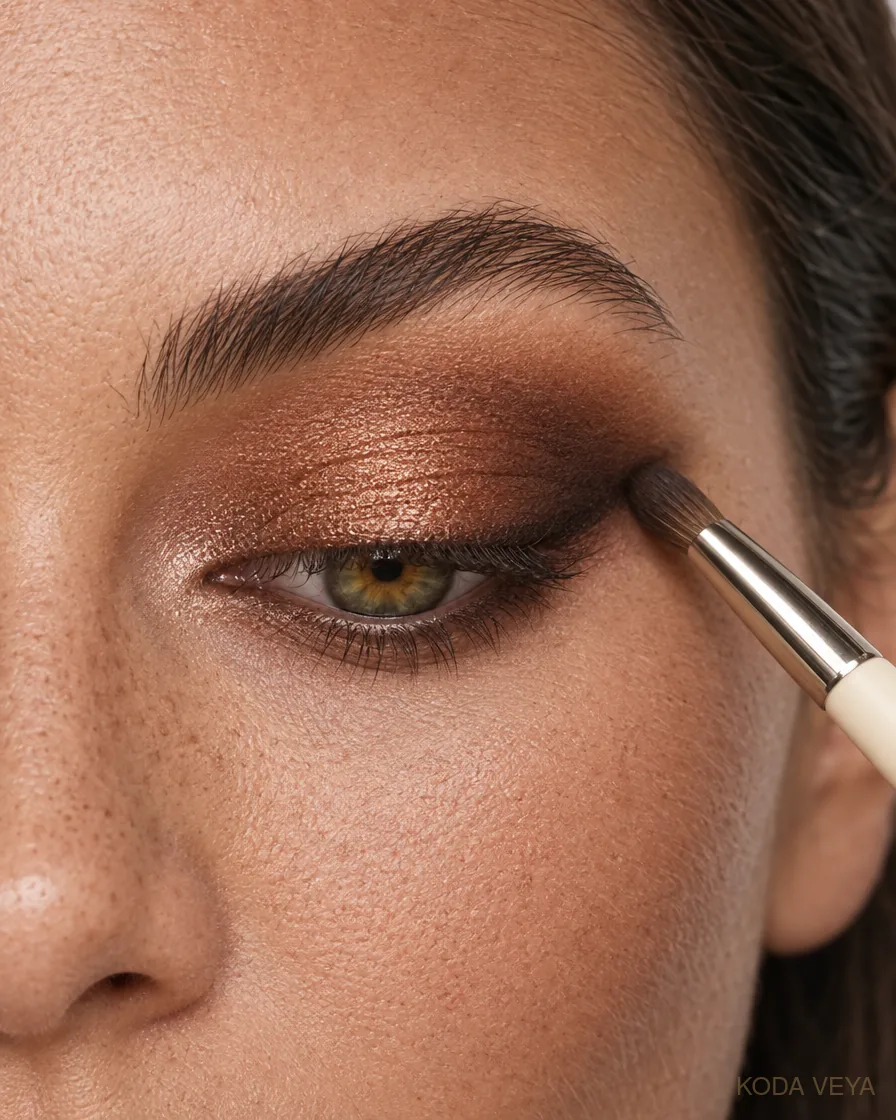
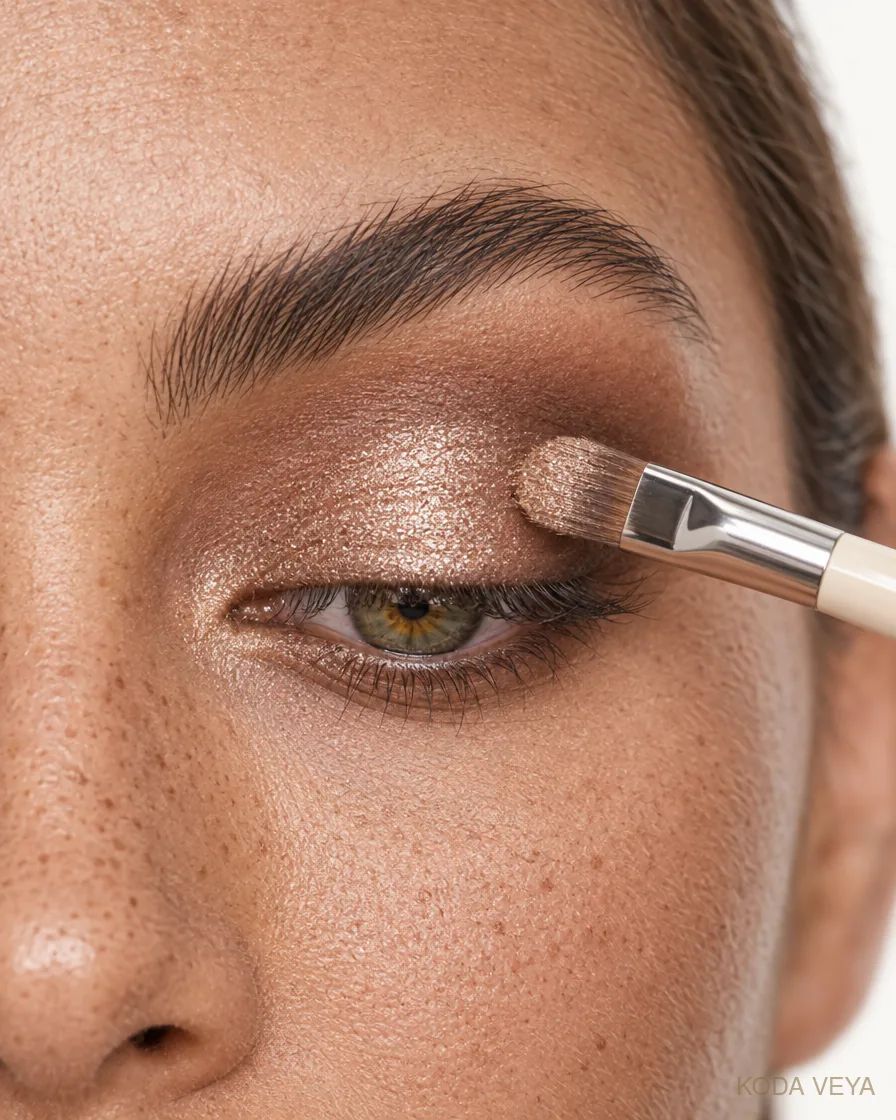
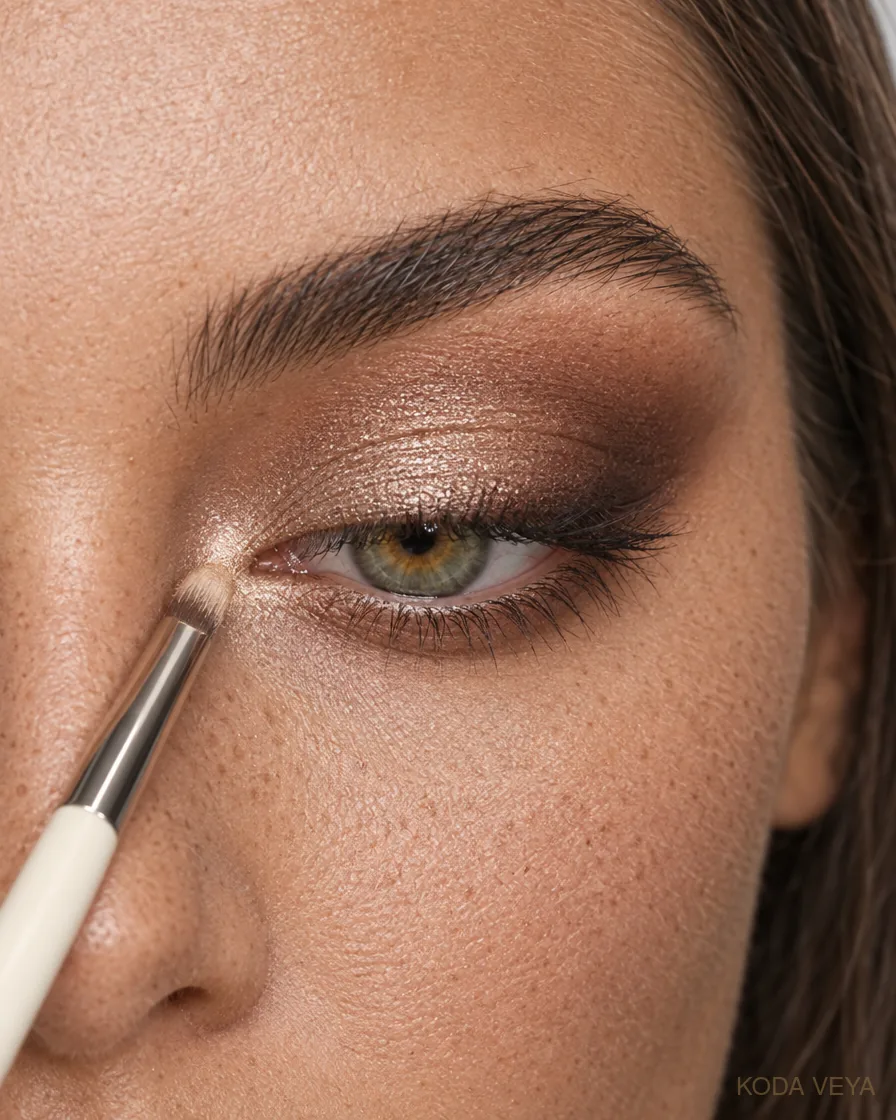
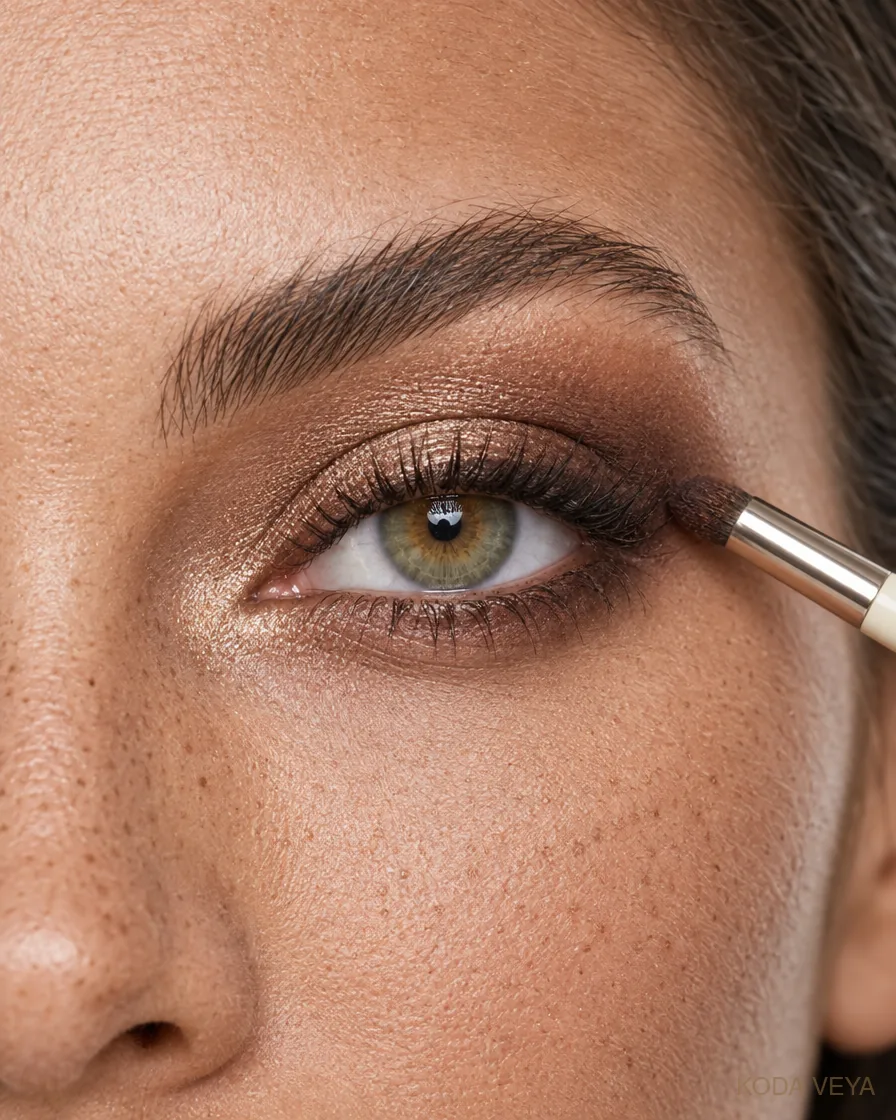
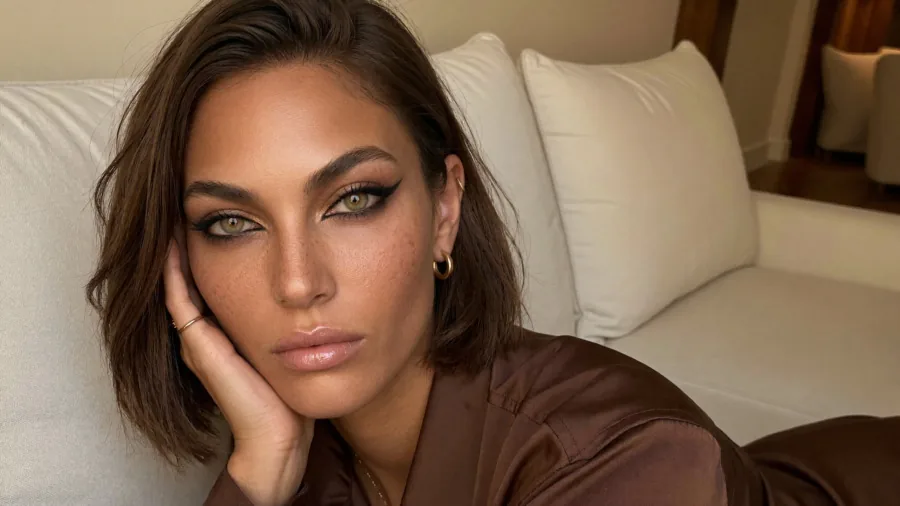
Copper brings light to a smoky eye without making it look delicate.
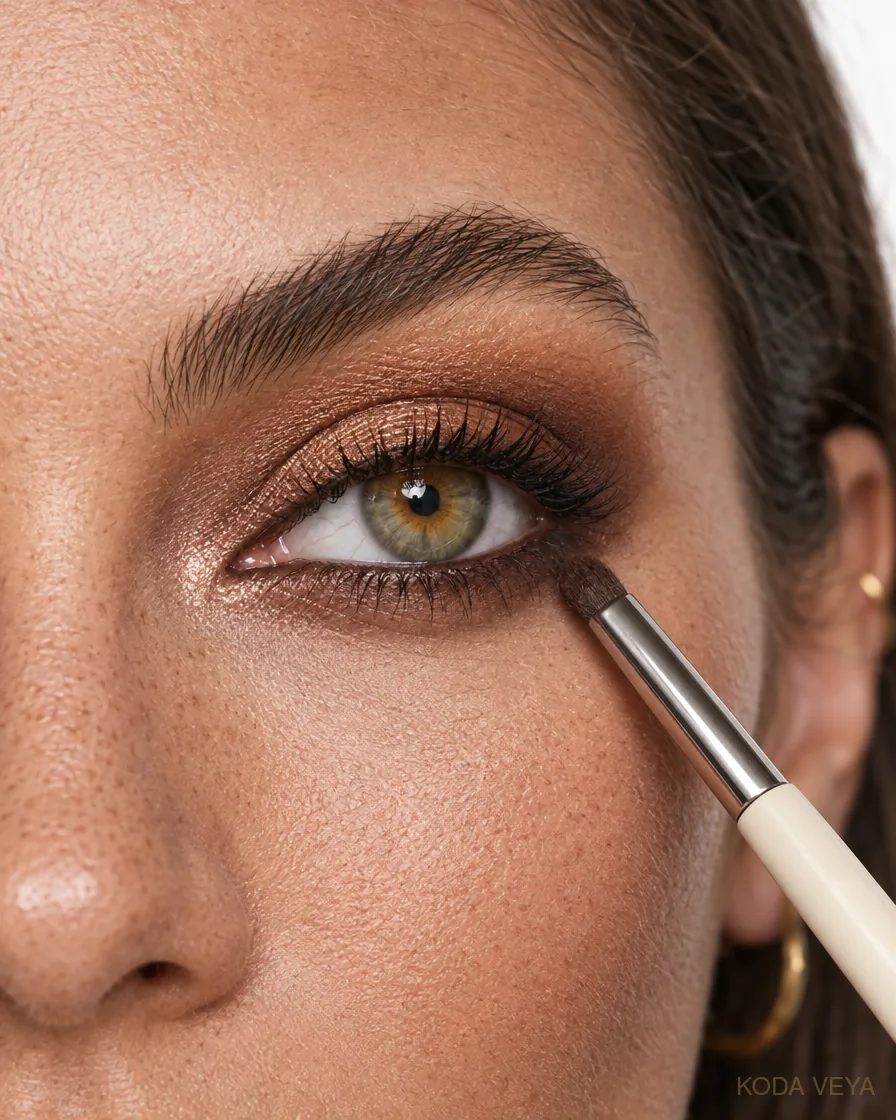
The centre of the lid stays burnished and reflective while espresso gives the outer eye enough depth to stop the whole thing drifting into “bronze eyeshadow and mascara”.
I like this one slightly elongated rather than perfectly round. It makes the warmth feel more polished and less beachy.
The rest of the face can take a little warmth too. A softly bronzed cheek and a caramel-nude lip make more sense here than keeping everything else clinically neutral.
Suitable for
Evening light, gold jewellery, chocolate, cream, black tailoring and anything that benefits from a little warmth without tipping into full glamour.
How to achieve the look
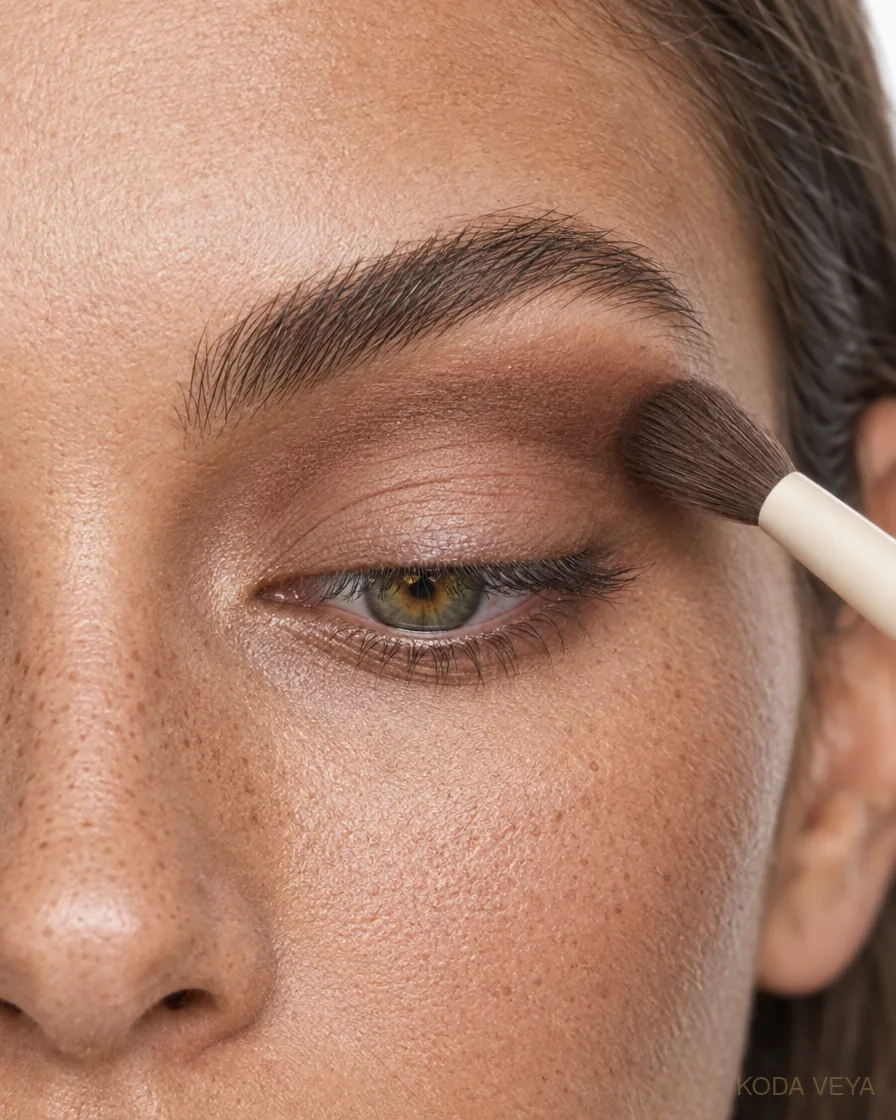
Step 01Lay the creaseBlend a medium warm brown through the crease first, so the copper has somewhere to fade into.Step 02Press the copperPat burnished copper across the lid, keeping the brightest point at the centre.Step 03Deepen the cornerConcentrate espresso at the outer corner, slightly elongated rather than round.Step 04Smudge the lash lineSmudge chocolate pencil along the upper lashes and lightly under the outer lower lashes, then mascara.
Smudge a chocolate-brown pencil along the upper lash line and lightly beneath the outer lower lashes. The edge should fade out before you can tell exactly where it ends.
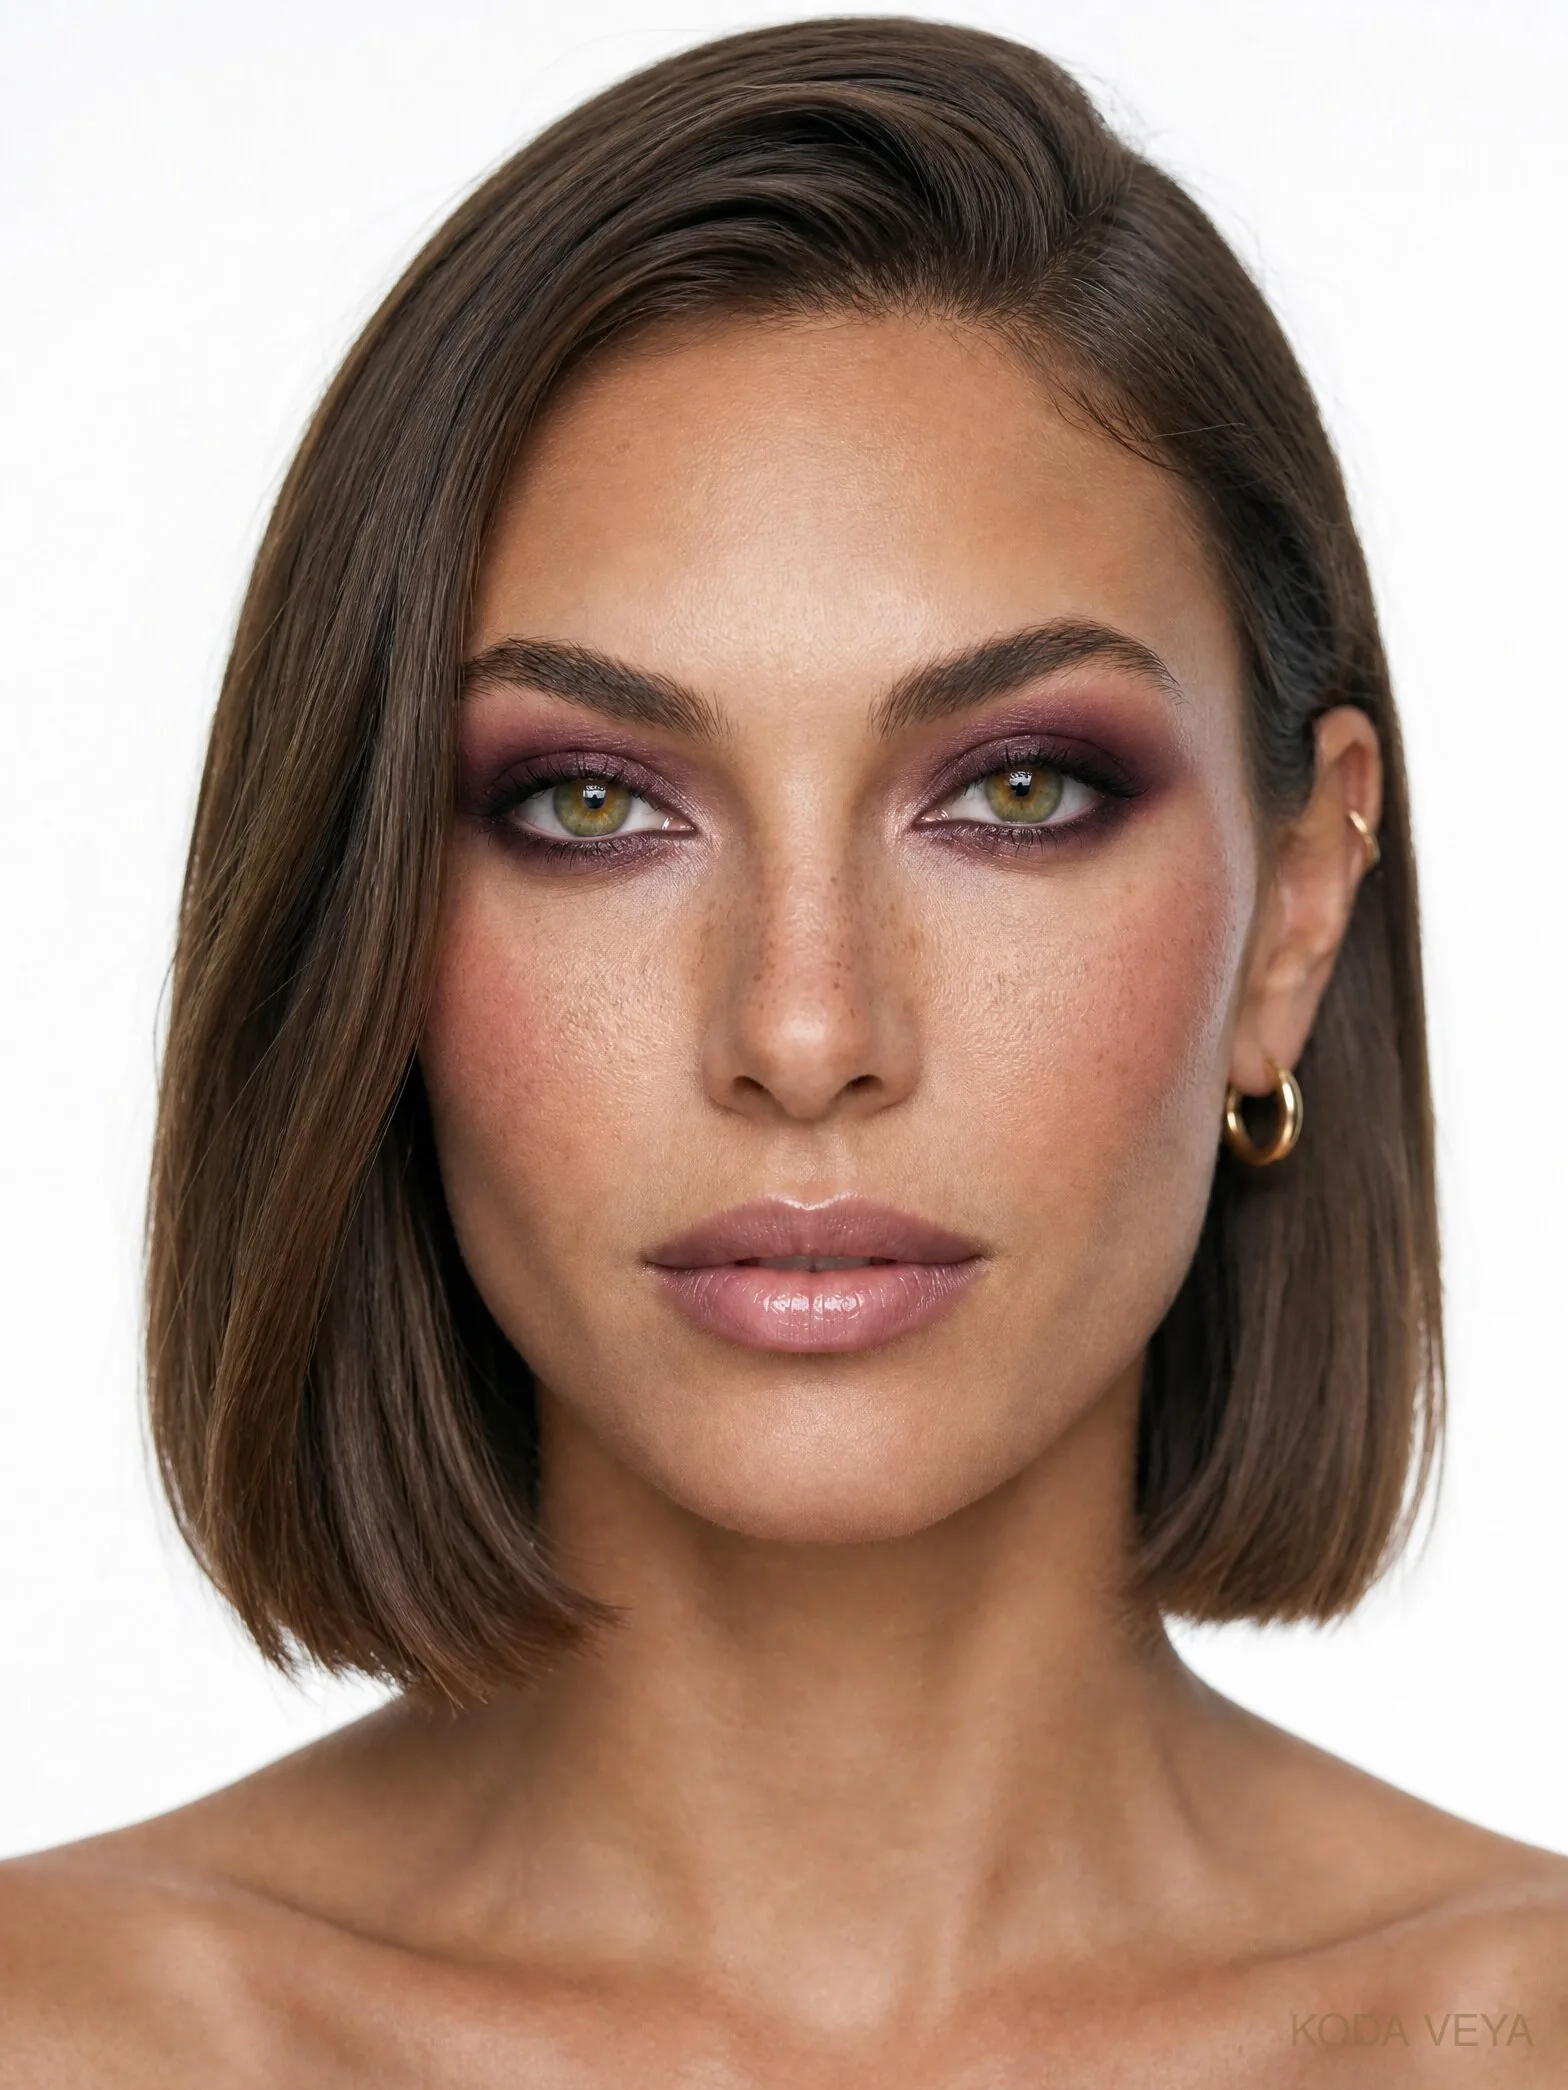
Plum makes a smoky eye softer without making it any less dramatic.
The distinction that matters is purple versus plum. Bright violet announces itself immediately. Blackberry and wine sit closer to shadow, which makes the effect richer and rather easier to wear.
I’d let the plum cover most of the lid and save the deepest blackberry for the outer corner and lower lash line. That small change in depth is what stops one colour turning into a flat wash.
A cool rose cheek and a muted mauve-nude mouth suit it well, so the face picks up the cooler colour story without going monochrome.
Suitable for
Black, navy, burgundy, silver jewellery, evening dresses, dinner rather than daylight, although I’d happily wear a softer version before six.
How to achieve the look
Step 01Soft transitionBlend a mauve-taupe through the crease to give the plum a soft edge to sit against.Step 02Plum on the lidSweep plum over most of the lid. Blackberry and wine tones read richer than bright violet.Step 03Add the blackberryBlend the deeper blackberry into the outer third and crease, keeping the inner eye lighter.Step 04Smoke underneathWork a little blackberry beneath the lower lashes, soften it thoroughly, then mascara.
Work a little of the darker shade beneath the lower lashes and soften it thoroughly. Keep the inner eye cleaner and slightly lighter so the smoke still has dimension.
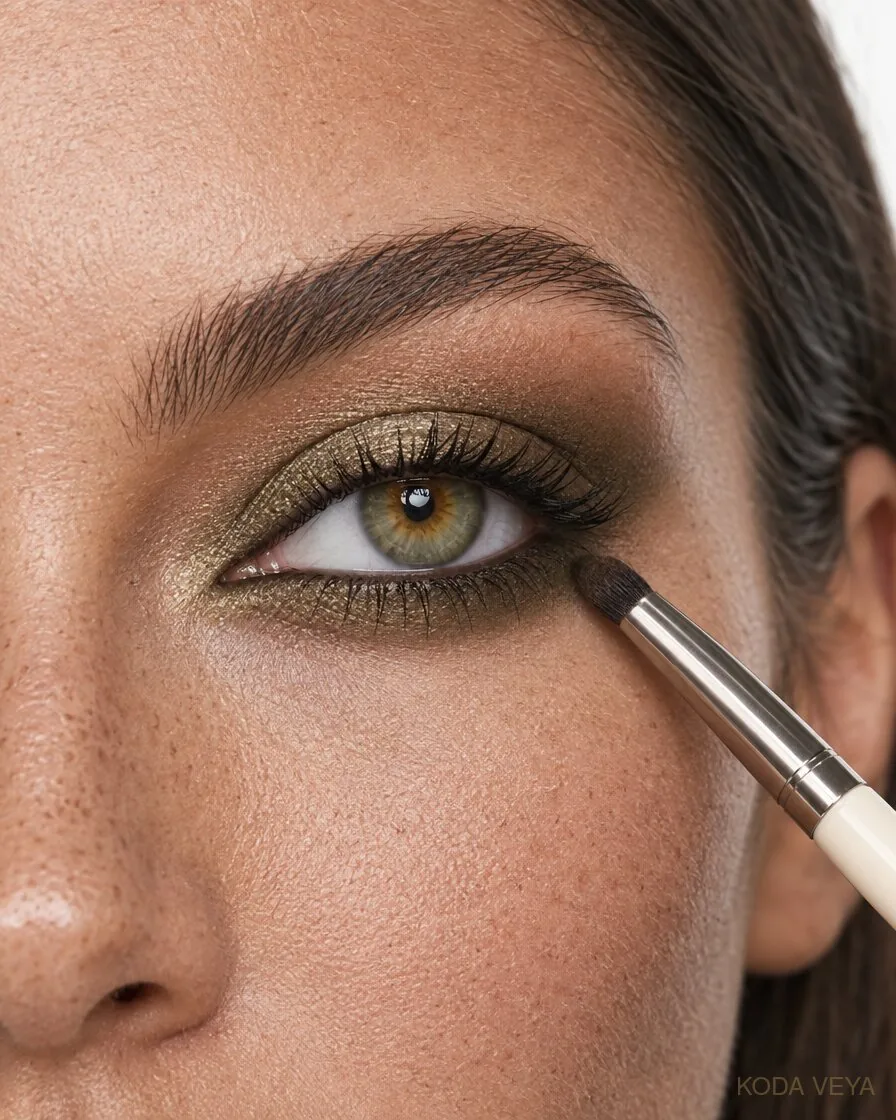
Green smoky eyes can go wrong remarkably quickly. The fix is usually to make the green dirtier.
Olive and khaki contain enough brown to feel grown-up, but enough colour to set the eye apart from another neutral smoke. I keep the strongest olive close to the lid and lash line, with deep khaki diffused outward.
It’s particularly good when the rest of the face stays warm and simple: nude-rose lips, a restrained cheek, no competing colour.
Suitable for
Chocolate, camel, black, cream and gold jewellery all work particularly well here, including the clothes people usually assume need brown eye makeup.
How to achieve the look
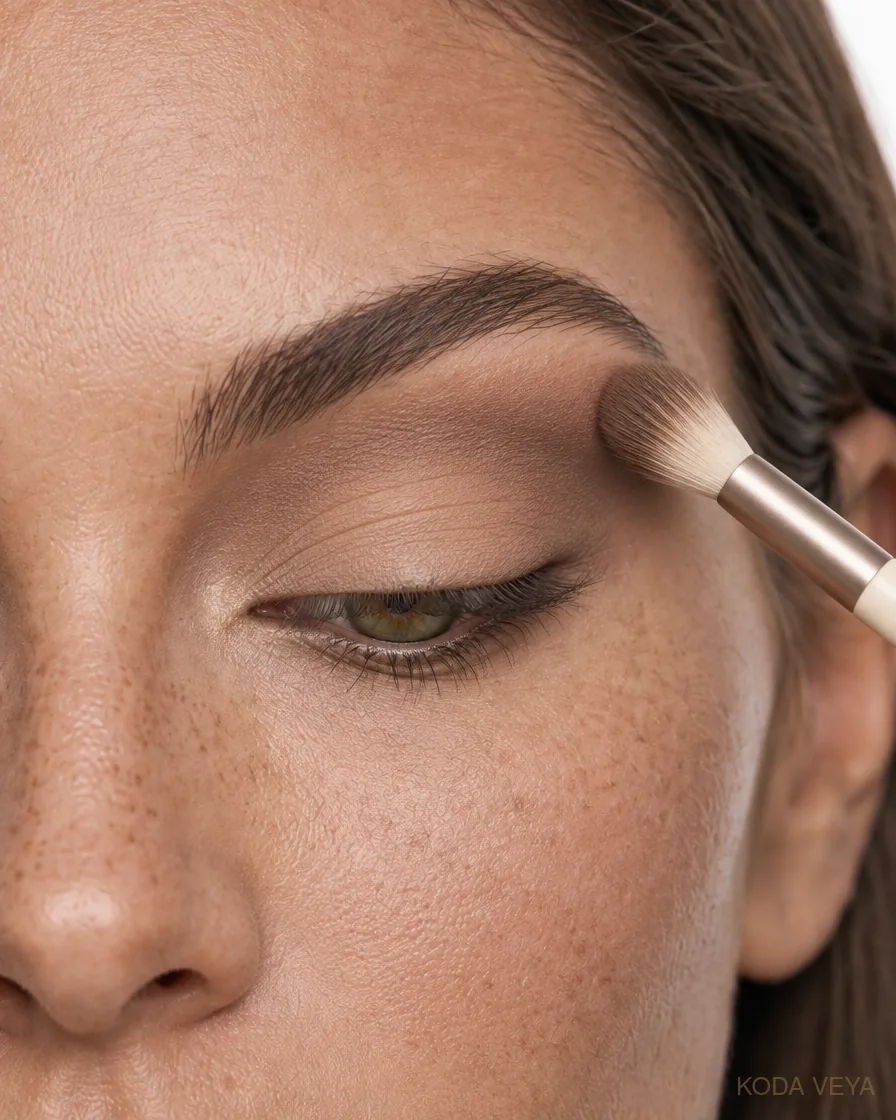
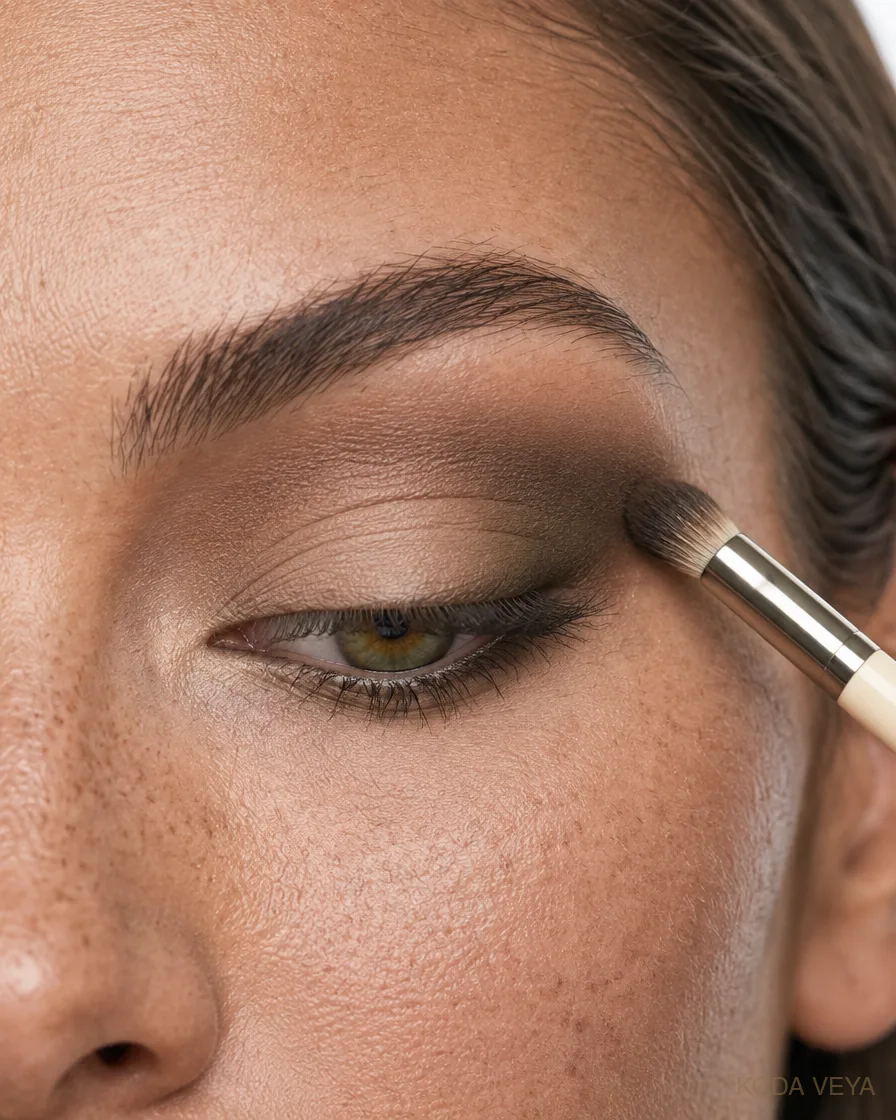
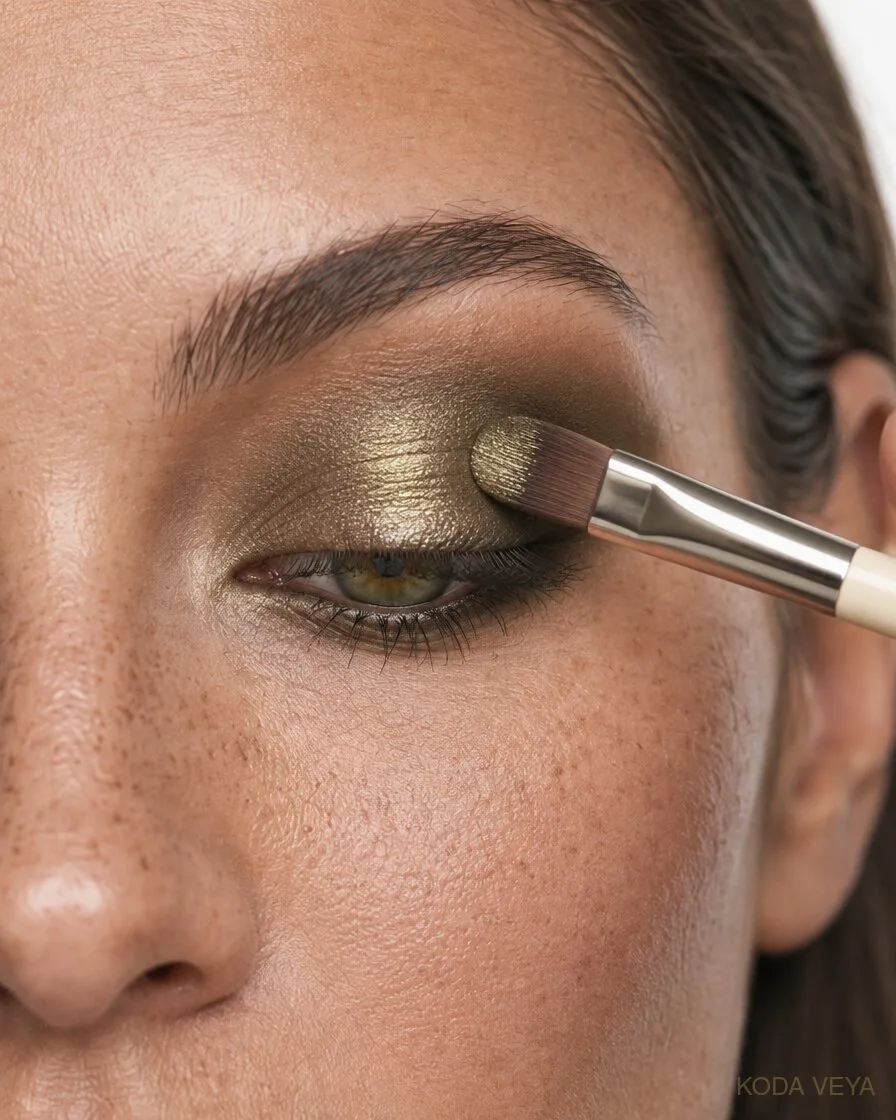
Step 01Base & transitionPat a soft beige matte across the lid, then blend a warm taupe into the crease so the deeper shades have something to melt into.Step 02Build the depthPress deep khaki into the outer corner and blend it through the crease. Keep the centre of the lid clear for now.Step 03Add the olivePack smoked olive shimmer onto the centre of the lid and soften its edge into the khaki so there is no line between them.Step 04Smoke the lower lash lineSmudge khaki and a touch of olive beneath the lower lashes, line the waterline in dark brown and finish with mascara.
Keep the edges very diffused. If it starts looking like green eyeshadow rather than a smoky eye, add depth at the lash line instead of more green across the lid.
Shop similar: e.l.f. Perfect 10 Eyeshadow Palette — So Bright Now — Amazon →
04 — Champagne × Chocolate
Luminous + Polished
This is probably the easiest of the six.
Champagne catches the light, and chocolate gives it enough depth to still count as smoke rather than shimmer.
The important part is restraint. Champagne sits mainly across the moving lid and inner corner; chocolate belongs in the crease and outer eye. If every part of the eye is equally shiny, nothing looks especially luminous.
It takes a softer lip well, too. A peach-beige nude keeps the face warm without repeating the eye.
Suitable for
Ivory, cream, champagne, blush, soft tailoring, gold jewellery and occasions where a full black smoky eye would feel like too much information.
How to achieve the look
Step 01Chocolate creaseBlend medium chocolate through the crease to build the structure first.Step 02Champagne lidPress a finely milled champagne across the moving lid only, not the whole eye.Step 03The cornersAdd deeper brown at the outer corner and a small point of champagne by the tear duct.Step 04DefineSmudge dark brown pencil along the upper lashes, keep the lower lash line softer, then mascara.
Smudge a dark brown pencil along the upper lashes and add a small point of champagne near the tear duct. Keep the lower lash line softer than the upper.
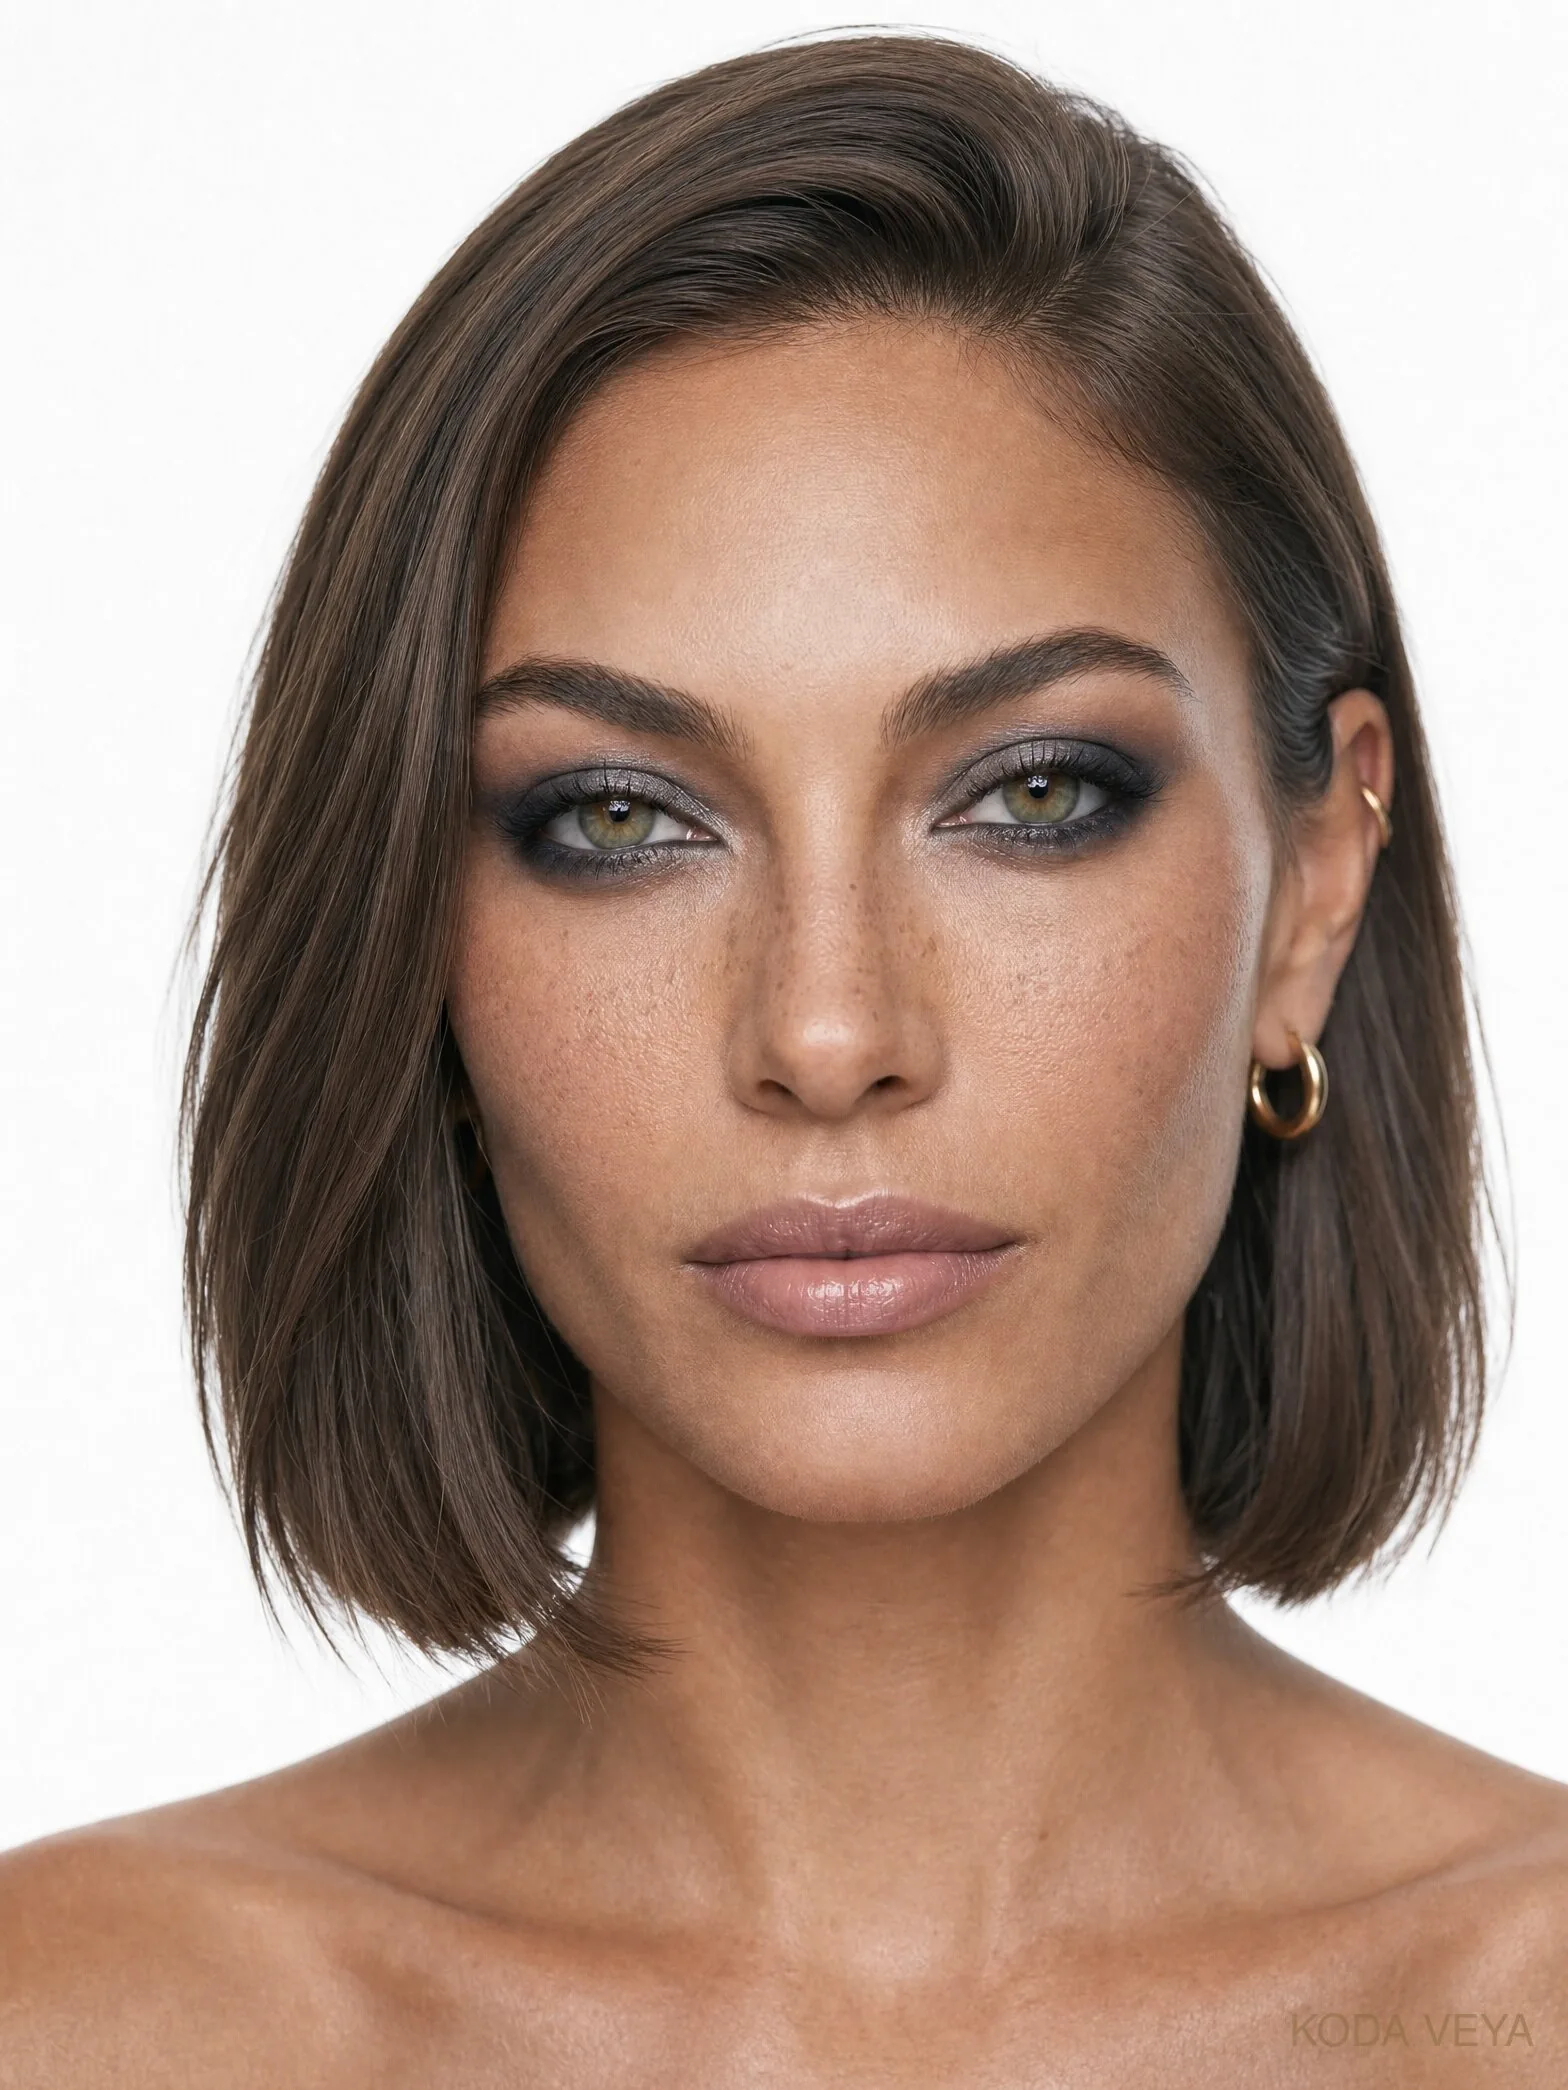
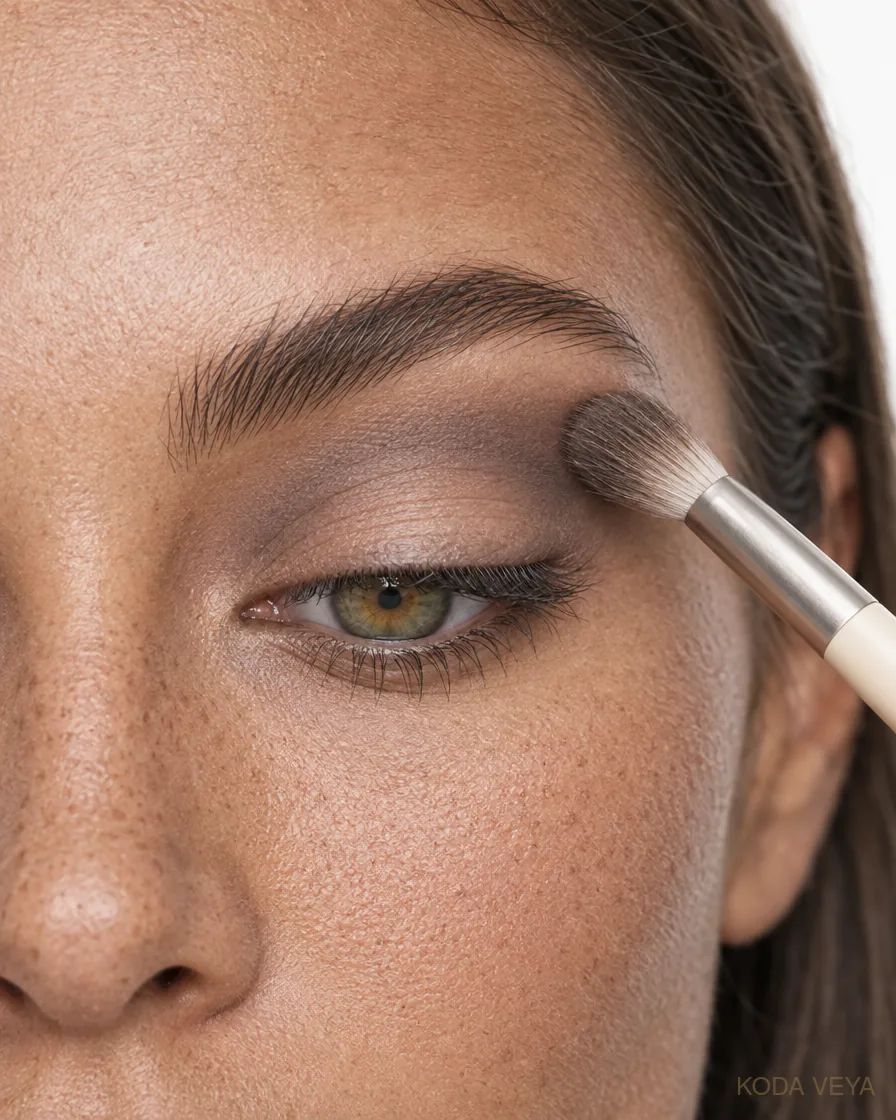
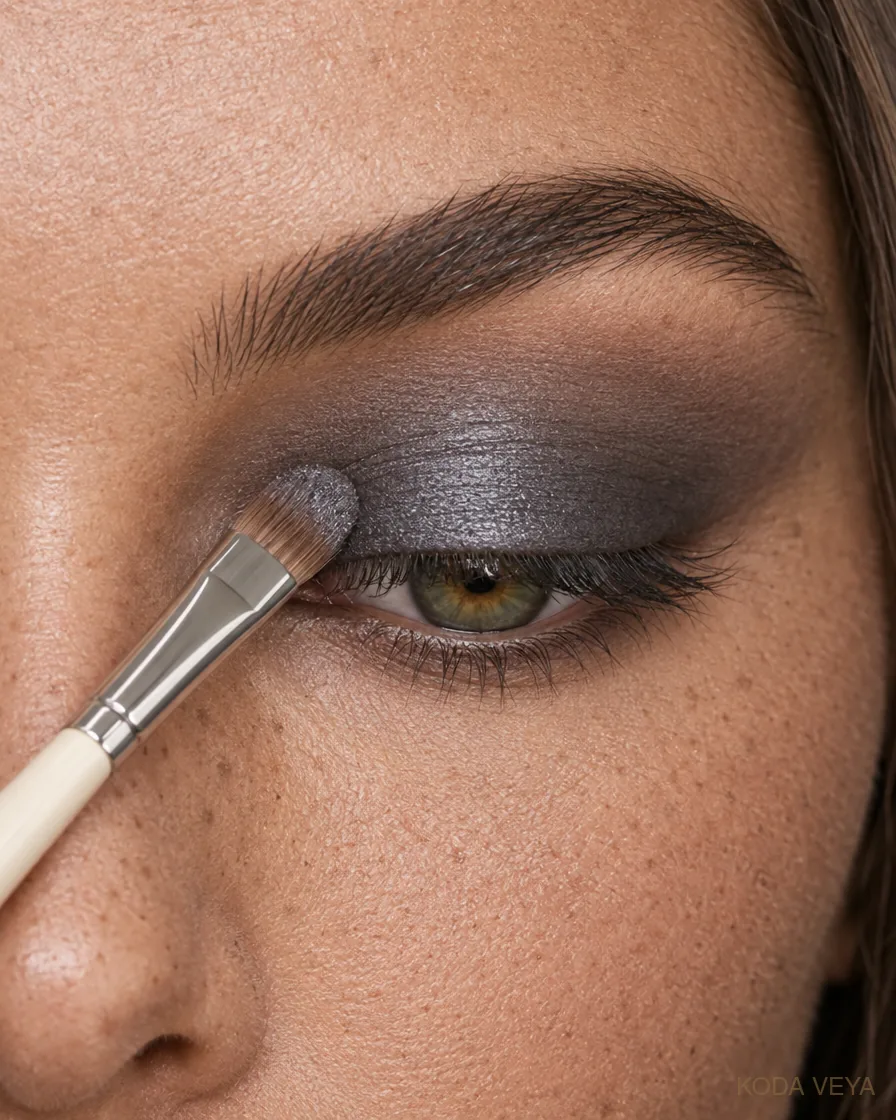
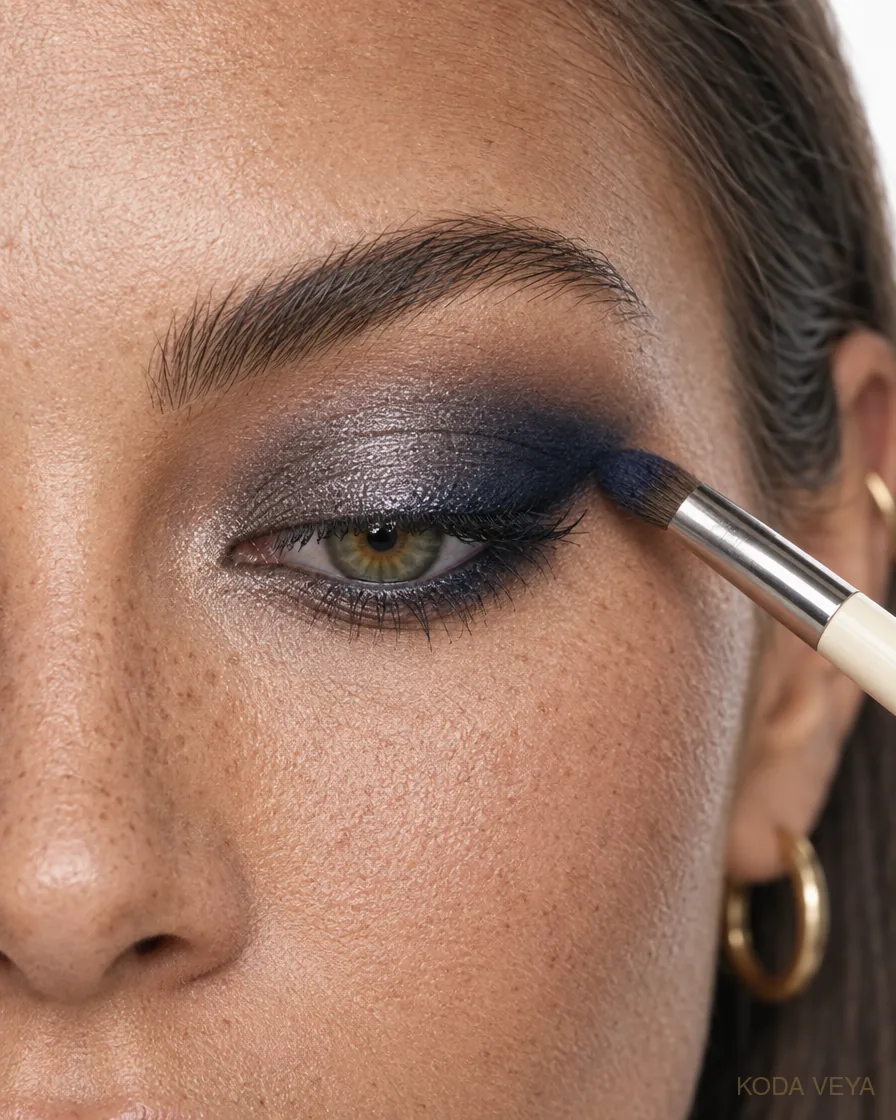
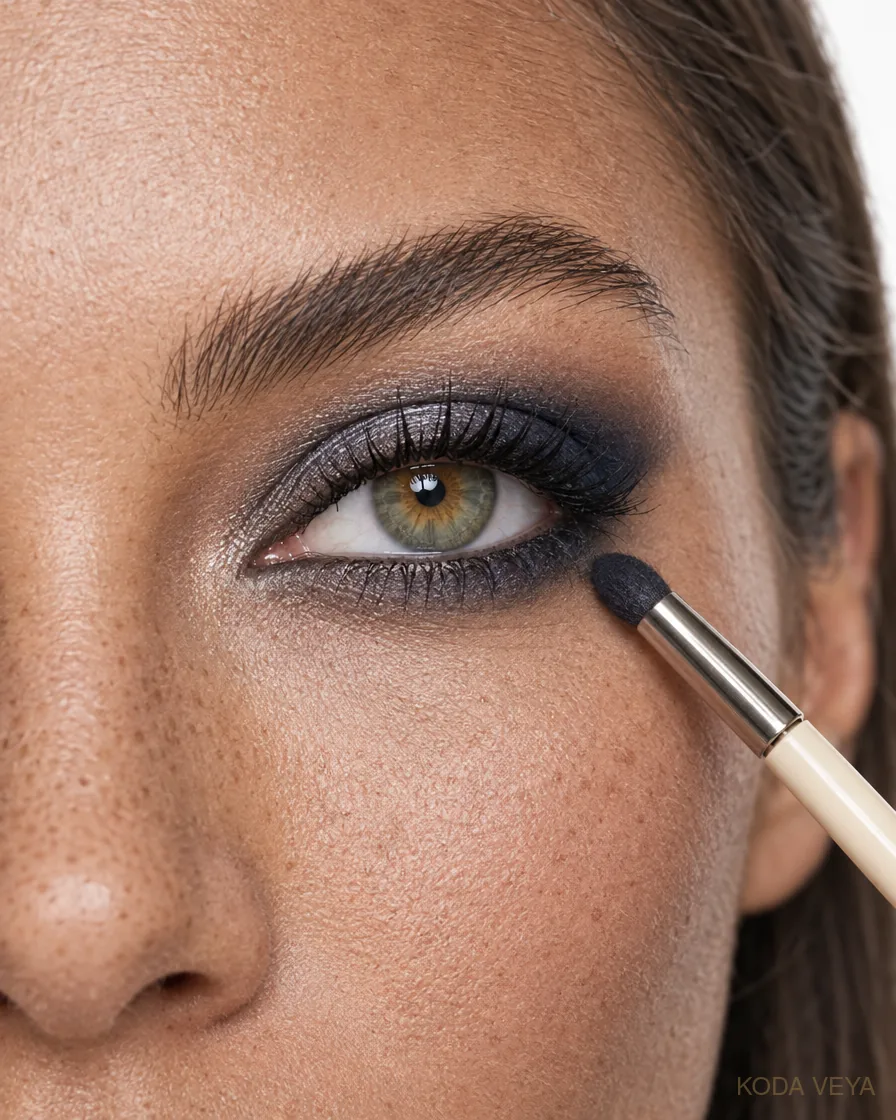
Gunmetal gives you the drama of grey without the flatness some charcoal shadows have. Navy adds depth while staying just far enough from black to look more considered.
I’d make the shape slightly longer here. The cooler palette can carry a cleaner, sharper outline without becoming graphic liner.
Keep the rest of the face cooler too, but quietly. A taupe-rose nude lip works better than anything peach or caramel.
Suitable for
Black tailoring, silver jewellery, navy, charcoal, white shirts and evenings when bronze suddenly feels too polite.
How to achieve the look
Step 01Cool transitionBlend a soft grey-taupe through the crease so the cooler shades have a base to melt into.Step 02Satin gunmetalWork gunmetal across the lid, keeping the finish satin rather than glittery.Step 03Navy depthPress deep navy into the outer corner and lash line, blending it into the grey in a slightly longer shape.Step 04Graphite underneathRun a little graphite beneath the lower lashes, soften it, then mascara.
Run a little graphite beneath the lower lashes, then soften. Up close the eye should read navy; from a distance it should simply feel cooler than black.
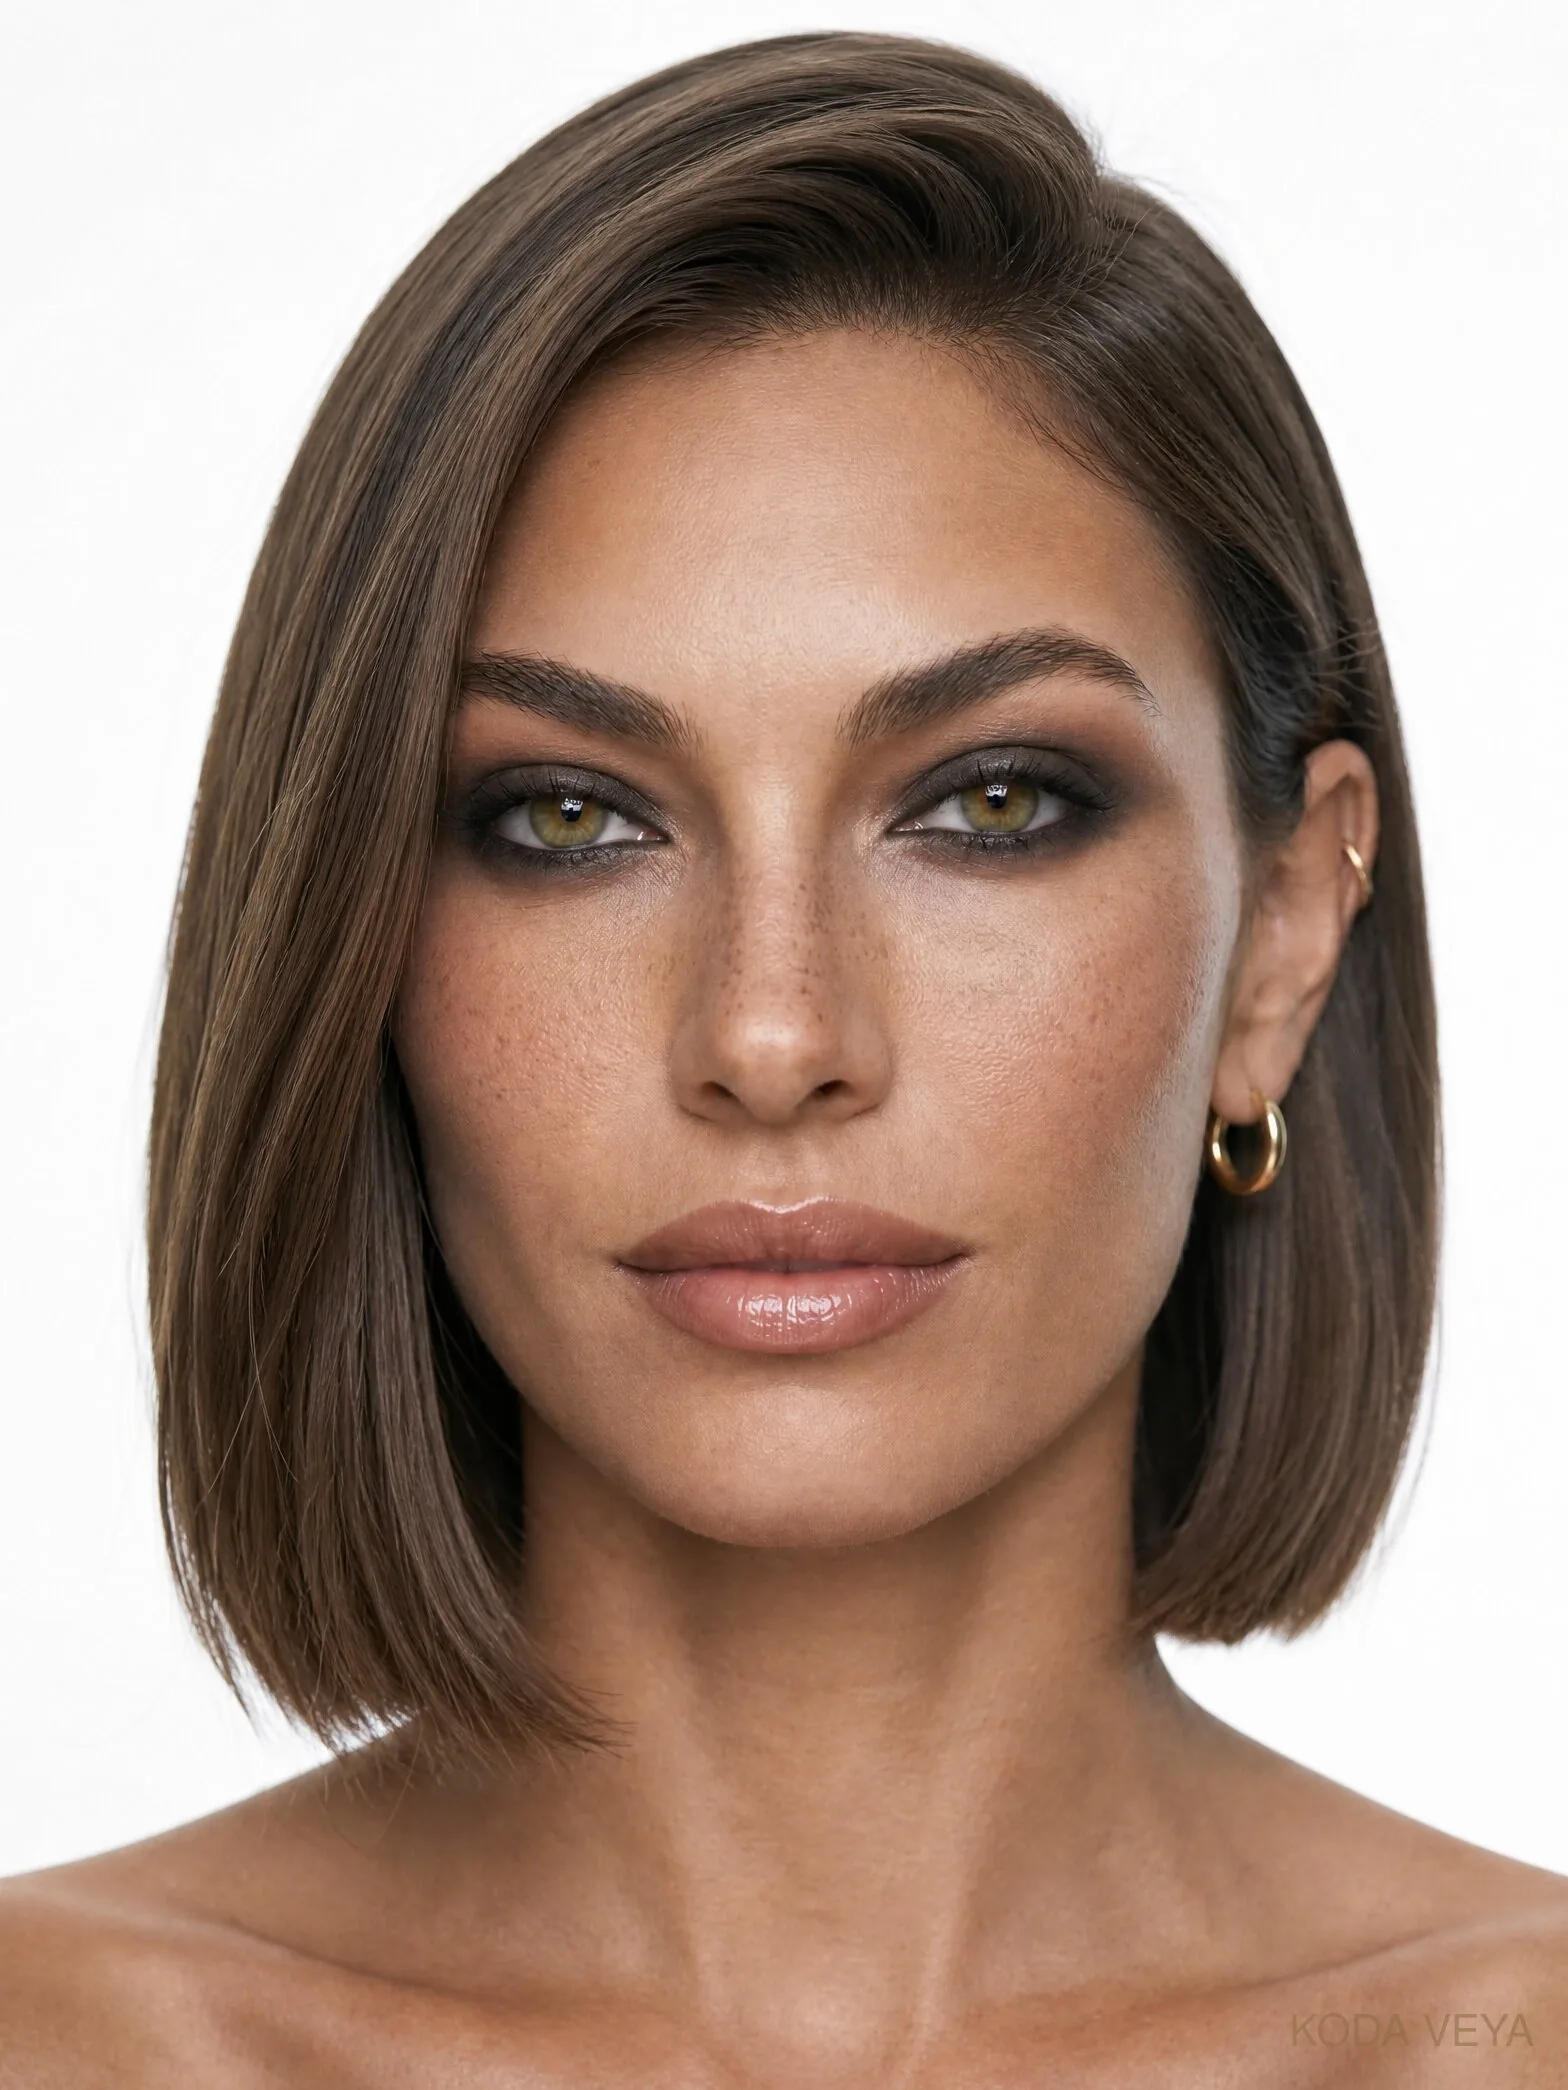
There’s still a place for the actual black smoky eye. It just doesn’t need to be a black circle.
The darkest pigment belongs closest to the lashes and at the outer corner. Charcoal softens it outward, and that’s what gives the eye dimension rather than simply making it darker.
I’d keep everything else very quiet: good skin, a restrained cheek, a deeper rose-brown or mocha nude lip.
The eye has already made the announcement.
Suitable for
After dark, black, sharp tailoring, jewellery, bare shoulders and any situation where subtle was never really the point.
How to achieve the look
Step 01Charcoal creaseBlend charcoal through the crease before any black goes near the eye.Step 02Black at the lashesPress black close to the upper lash line and outer corner rather than over the whole lid.Step 03Diffuse the edgeBlend charcoal up and out until there is no visible border, only structure.Step 04FinishLine the waterline in black, add black back only where you need more depth, then mascara.
Blend charcoal through the crease and around the lower lashes, then go back in with black only where you genuinely need more depth. The finished blend should have no obvious edge, but it should still have structure.
Copper is warm. Plum is romantic. Olive is unexpected. Champagne catches light. Gunmetal cools everything down. Black gives you the most contrast of the lot.
The better question is what you want the eye to do. The technique stays broadly the same while the mood changes completely, and that’s what makes these smoky eye makeup ideas so useful.
You don’t need six techniques. You need one good grasp of depth, diffusion and restraint, and then six different decisions about colour.
If you’d rather change the whole face than just the eye, I’ve done that in Makeup Look Ideas. And for working colour around one particular iris, there’s Best Makeup for Hazel Eyes. And if it’s the shape of the eye rather than the colour you want to change, Eye Makeup Looks covers siren, fox, doe and more.